Sourdough Bread Recipe with Starter - the only homemade bread recipe you’ll ever need! Learn to make sourdough bread and get to know the ins and outs of the beautiful, yet simple process of making your very own loaf!
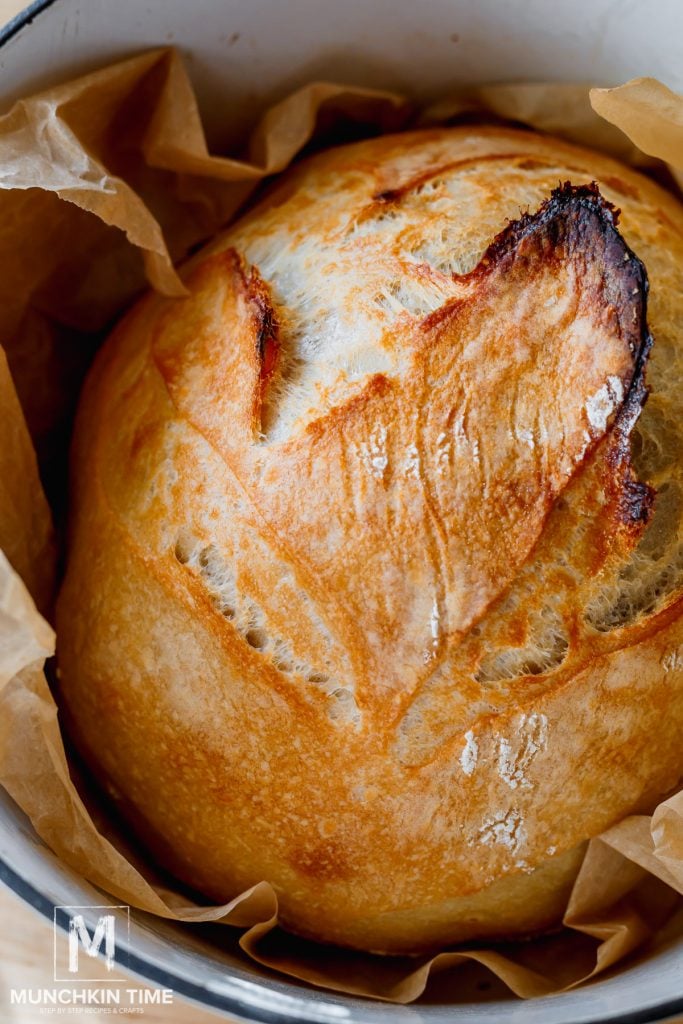
If you’ve ever heard people refer to their sourdough journey, it’s because it really is an adventure! From growing your own starter to feeding it to preparing the sourdough dough, stretching, folding, then baking it until you have a perfect loaf of bread ready to be enjoyed!
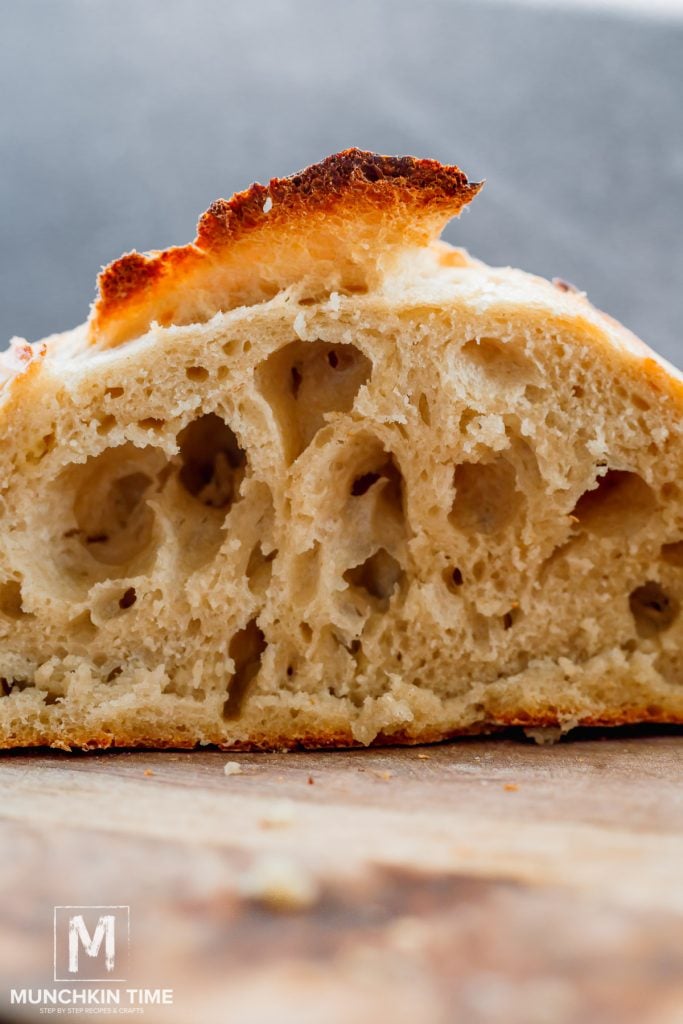
There is nothing better than this easy sourdough bread recipe resulting in a loaf that is chewy and airy on the inside, golden and crispy on the outside, and great for so many things! We love eating it with Guinness Beef Stew or any of these Chicken Thigh Recipes, or making a delicious Bacon Grilled Cheese Sandwich with Caramelized Onions or Smoked Salmon Avocado Toast.
Why This Recipe Works
- Versatile - I love using this bread for sandwiches, or to serve on the side of soups and stews, but I have also used it to make sourdough croutons!
- Easy - Don’t be intimidated. Once you understand the process, you’ll be making sourdough so often, you’ll never need to buy a loaf of bread again!
- Tastes amazing - It is slightly tangy (hence the word sour), fermented, hearty, chewy bread with a golden crust.
- No fancy gadgets are needed - You won’t need an electric mixer, stand mixer, or bread maker. All you need is some arm strength and a bit of patience. Believe me, it’s worth the wait!
Tips on How to Bake Sourdough Bread
- Use an active starter. This is used in place of any traditional leavening agents like yeast. If it’s not active, the dough won’t rise!
- A bench scraper. I enjoy using one of these to help lift and transfer the dough. Because it is soft, it can be hard to use just your hands.
- If you don’t have a lame to score the surface of your bread, make sure the knife you use is super sharp. Some people have also been known to use clean, unused razor blades. Whatever you do, be careful!
- I love to eat slices of sourdough bread with a simple rub of roasted garlic and a sprinkle of sea salt. So good!
Ingredients Needed
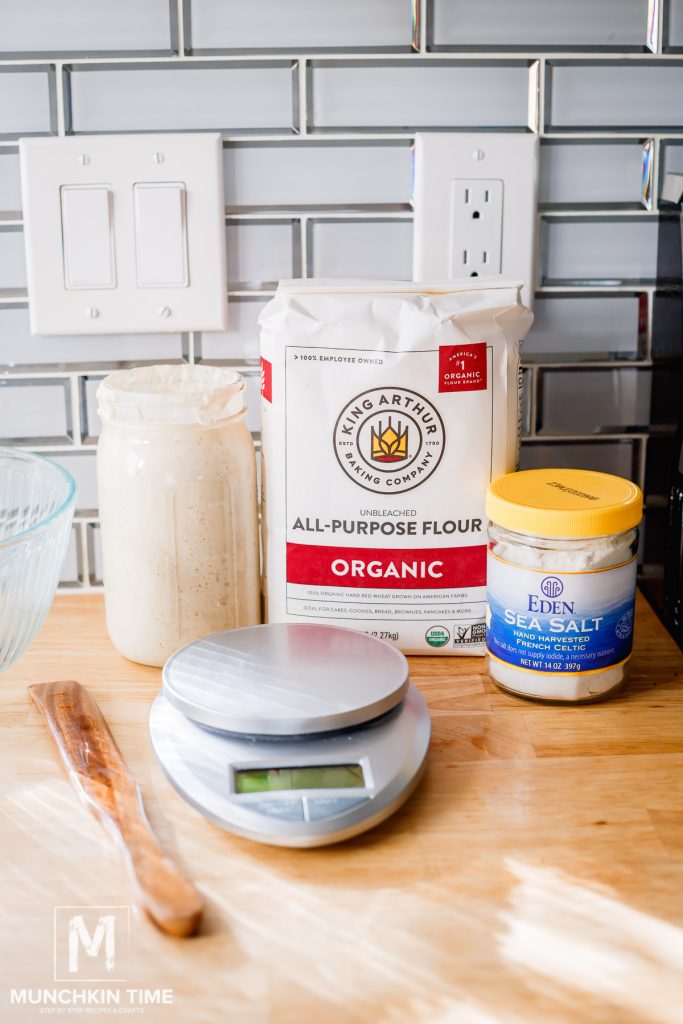
- Sourdough Starter - You’ll need an active sourdough starter whether you’ve bought one or you have one that you’ve been feeding at home and it’s ready to be used.
- Filtered Water + A little extra - Make sure it’s at room temperature.
- All-Purpose Flour - Always measure the dough properly. It’s best to use a kitchen scale or the spoon and level method.
- Sea Salt - I like to use French sea salt.
How to Make Sourdough Bread
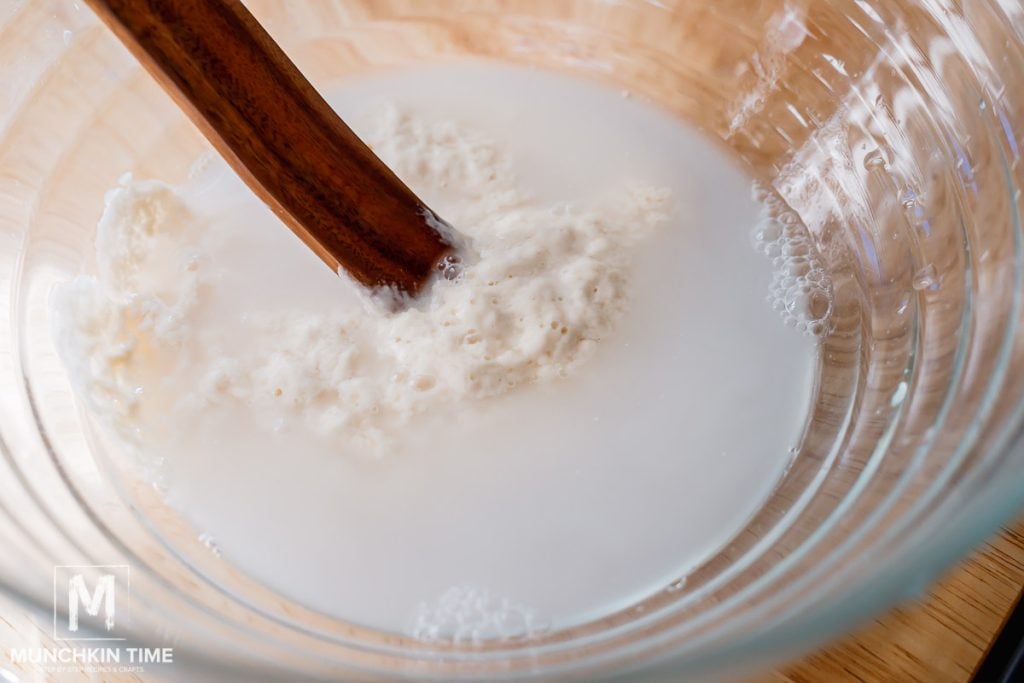
Step 1: In a mixing bowl, combine the starter and filtered water. Mix with a wooden spoon until the starter dissolves and the water looks milky. Then, add the flour and mix everything to combine.
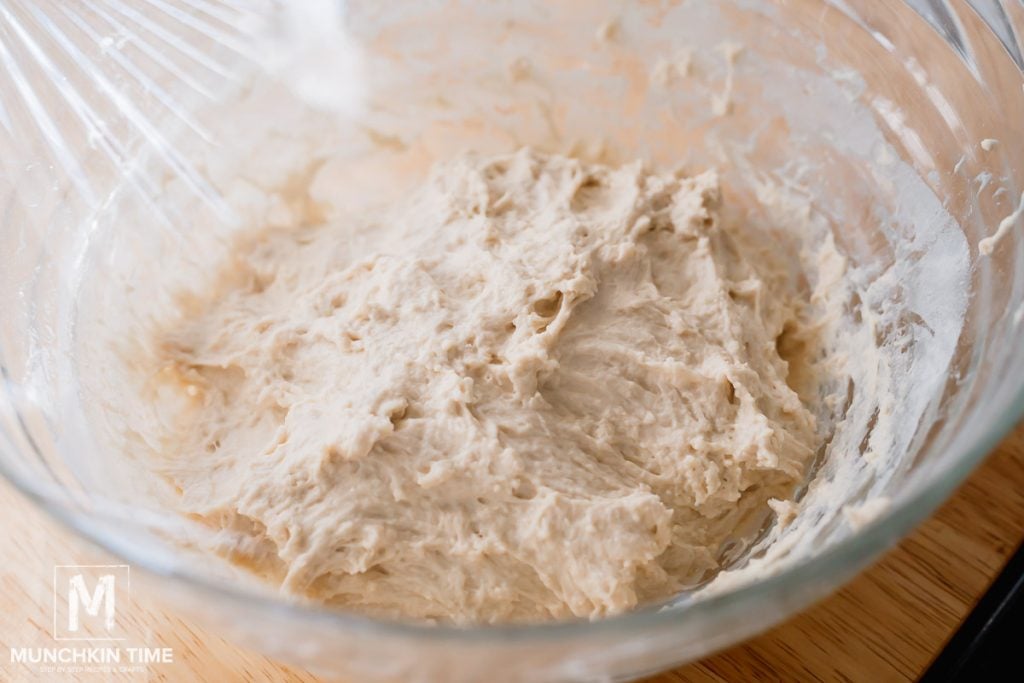
Step 2: Use your hands to knead the dough for about 5-10 minutes. Keep the dough in the bowl and cover it with plastic wrap or a kitchen towel. Keep it in a warm, draft-free area for about 2 hours while it rests.
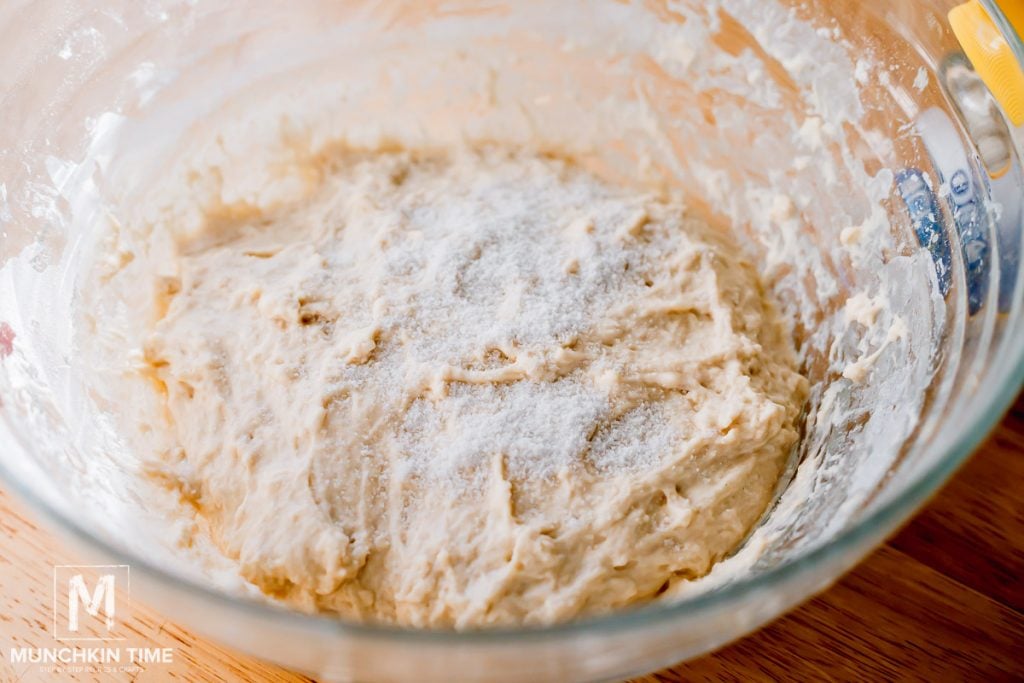
Step 3: Sprinkle in the salt and remaining water and knead the dough again until the salt and water are nicely incorporated. Cover the dough and let it rest for 4-5 hours. You can also place it in the fridge overnight and let it slowly rise for 8-10 hours.
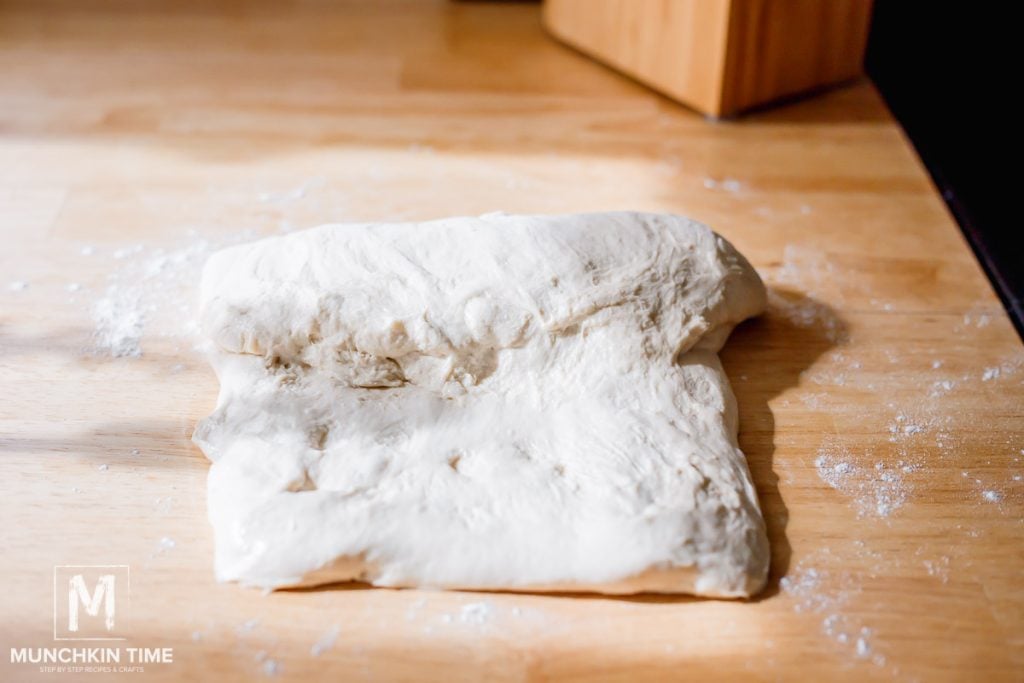
Step 4: Transfer the dough to a clean work surface. Wet your hands and stretch the dough into a large rectangle. The dough should be soft and move easily! Grab the top side (the edge farthest from you) and fold it down ⅓ of the way. Do the same with the bottom. Fold it over the folded top so you have a long narrow rectangle.
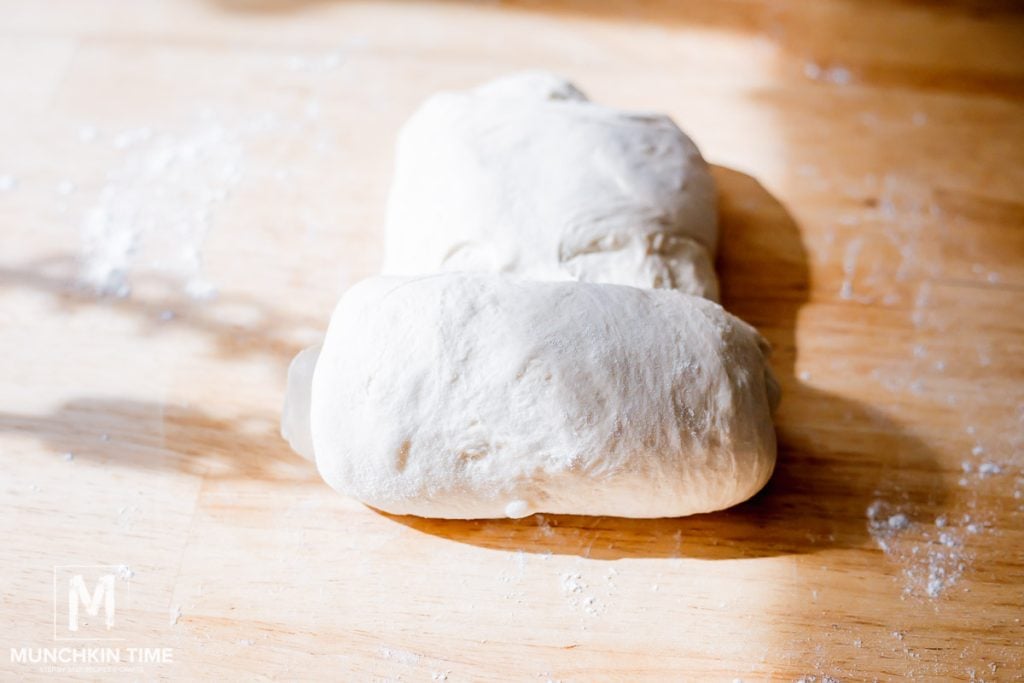
Step 5: Roll the end into a sphere. Push and pull the dough 4-6 times to form a round ball of dough. Leave it alone and let it rest on the counter, uncovered, for about 20 minutes.
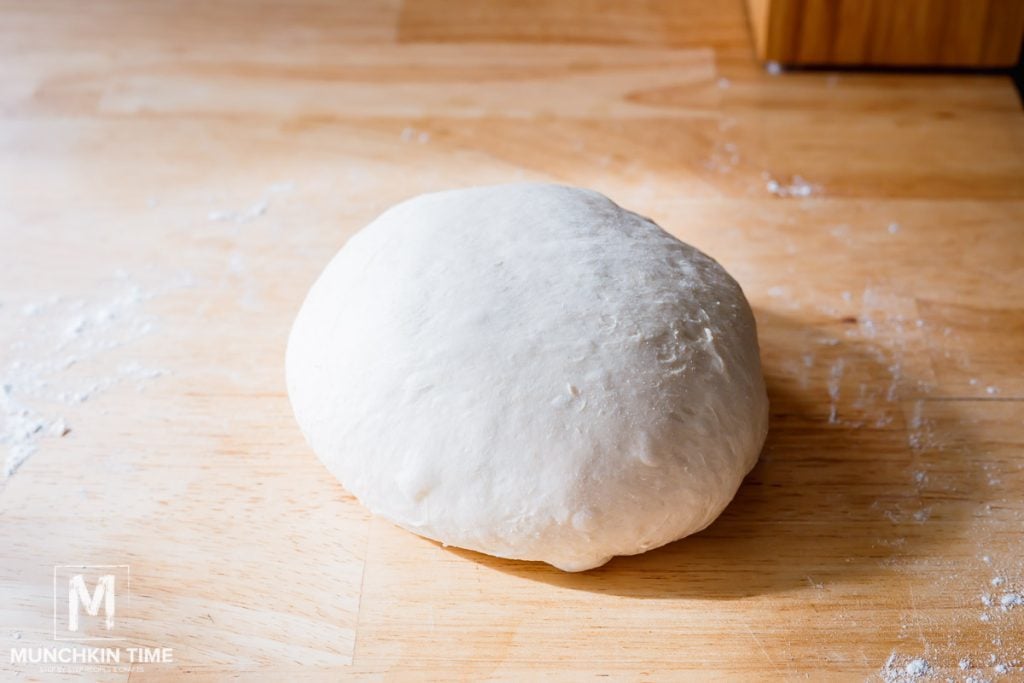
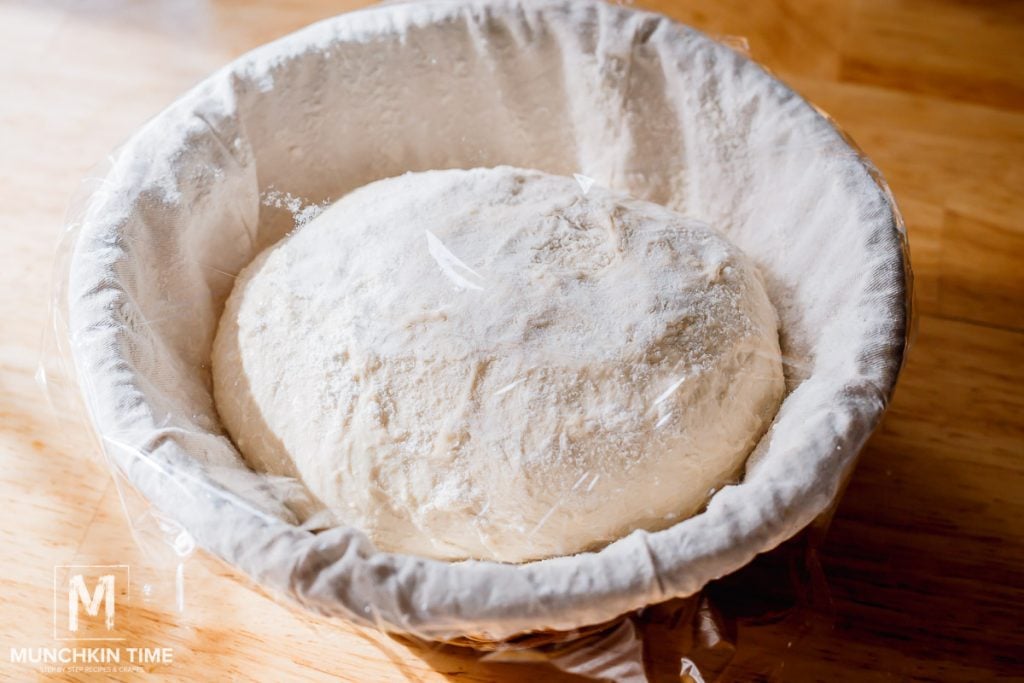
Step 6: Use a bench scraper to flip the dough over. Repeat the steps, starting with stretching the dough to form the rectangle. Once you’ve got the dough back to a round shape, place it into a lightly floured proofing basket. Cover and let it rise in the fridge for 2 hours.
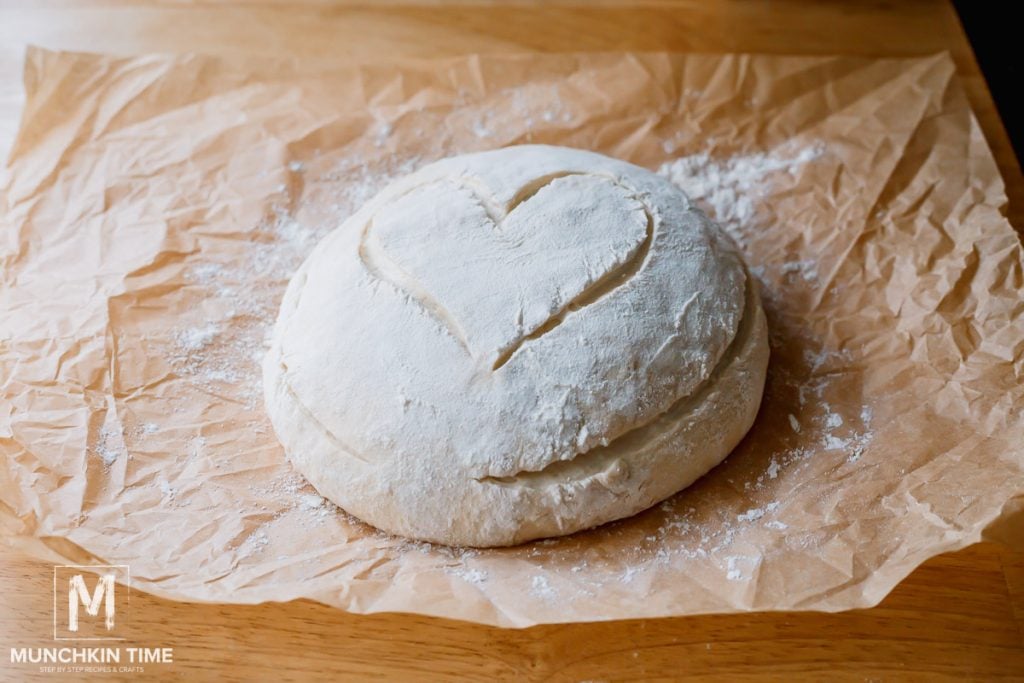
Step 7: Gently place the dough onto a floured sheet of parchment paper. Sprinkle some of the flour on top of the loaf. Use a lame to score the top and sides of the dough. Sometimes I like to be cute and cut out cute shapes like hearts.
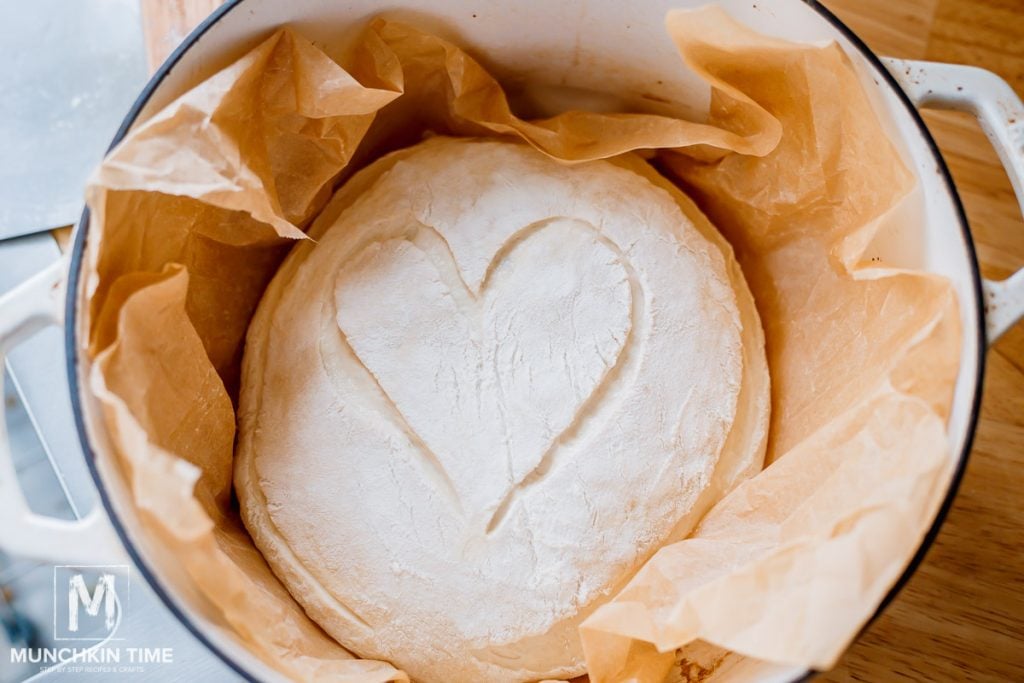
Step 8: Lift the dough using the parchment paper and put it into a Dutch oven. Slip 2 ice cubes behind the parchment paper to help create steam once it melts. Cover with the lid and place the Dutch oven into a cold oven.
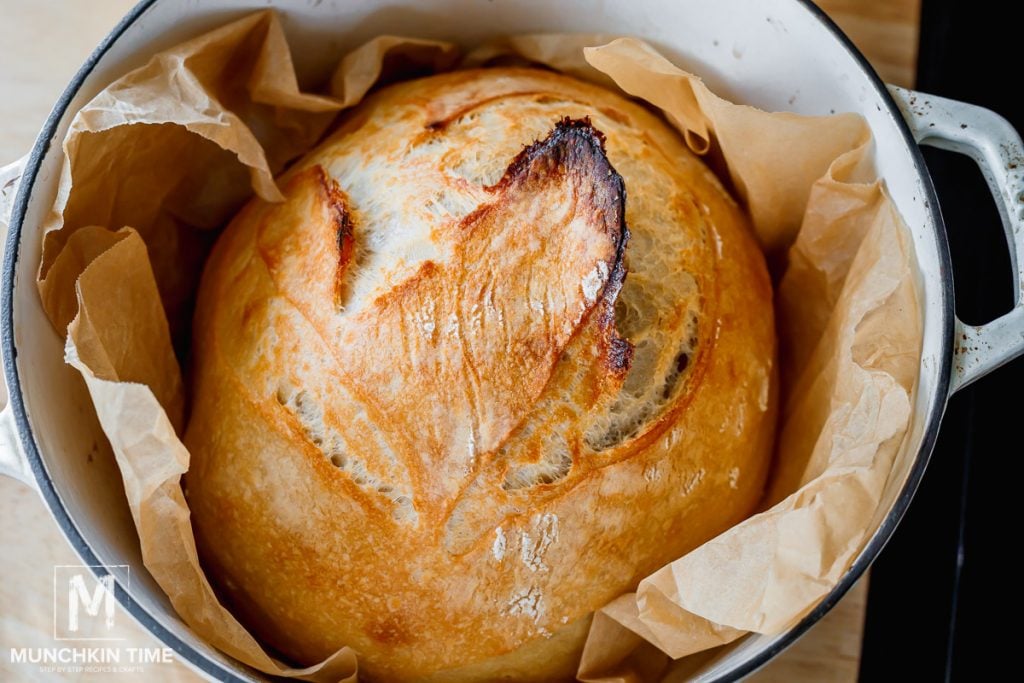
Step 9: Heat the oven to 450F. Once it has preheated, set the timer for a bake time of 40-45 minutes. After 40 minutes, uncover it and bake for another 5-10 minutes depending on your desired golden color.
Remove it from the oven, let it rest on a cutting board, slice, and enjoy!
FAQs
It is not gluten-free, but because it has a long fermentation process, the acids help to break down the gluten making it easier to digest than traditional yeast bread.
Sure it is! Any refined carbs will work to spike your blood sugar, however because of the increased probiotics, fiber, protein, and iron, these all work against the spikes, levelling out your blood sugars over a longer period.
As the cubes melt, they help to create steam which keeps the dough nice and moist on the inside as the outer crust is formed.
Both work and both get the job done. However, if you are in no rush to bake it, I would argue that letting it rest in the fridge has even more benefits. The flavors have more of a chance to marry and it’s given a longer chance to continue fermenting, giving the crumb a lighter texture in the end.
Freezing and Storing Sourdough Bread
Keep leftover bread stored in an airtight container or Ziploc bag for up to 1 week on the counter.
If you have made a couple of loaves at once, wrap whatever you want to freeze for later tightly in plastic wrap. Store it in a freezer bag for up to 2 months.
To thaw, remove it from the freezer but do not unwrap it. Once it has thawed at room temperature, then uncover it.
Other Sourdough Recipes
- Best Sourdough Discard Recipe: Strawberry Galette
- Sourdough Discard Pancakes
- Best Sourdough Pizza Rolls
When YOU make this Sourdough Bread Recipe with Starter tag us @munchkintimeblog on Instagram, we would LOVE to see your creation!
If you tried this Sourdough Bread Recipe or any other recipe on my website, please leave a * star rating and let me know how it went in the comments below. Thanks for visiting!
Thank YOU for YOUR Comment, Share & Recipe Review!

Sourdough Bread Recipe with Starter
Ingredients
- 125 grams sourdough starter active
- 367.5 grams water filtered & room temperature
- 500 grams all-purpose flour unbleached
- 12 grams sea salt I like to use French sea salt
- 25 grams water
Instructions
- Into a bowl add sourdough starter and water, mix with a wooden spoon until starter dissolves and water looks milky.
- Add flour. Mix everything together. Using hands knead the dough for 5-10 minutes. Cover and let rest in warm place for about 2 hours.
- After add salt and water, knead the dough for 5-10 minutes or until salt and water incorporated into the dough. Cover and let rest in warm place for 4-5 hours or in the fridge overnight (8-10 hours).
- Place the dough onto a floured surface. Flour hands with flour and stretch the dough into a large rectangle.
- Fold over ⅓rd from the top and bottom so each third is stacked vertically, forming a smaller rectangle .
- Take the side of the rectangle and roll it into a cylinder shape (wet hands with water, if the dough is too sticky).
- Now, using hands push the dough away and pull it towards you to form a round shape loaf, about 4-6 times or until dough is round. Let rest on the counter for 20 minutes, uncovered.
- Using a bench scraper, flip the dough over and repeat step 4-7. Lightly flour the proofing basket, gently place the loaf into the basket using bench scraper. Cover and let rest and rise in the fridge for 2 hours.
- Gently place the dough onto a floured parchment paper. Flour the top of the loaf and score the top and the sides using bread lame, making "O" or "C" shape around the loaf.
- Place into the dutch oven with parchment paper. Add 2 ice cubes into the pot behind the parchment paper. Cover with a lid and place into the cold oven. Preheat the oven to 450F. Once the oven is preheated, start the timer to 40-45 minutes. After remove the lid and bake for 5-10 minutes or until desired crispy golden color.
- Remove from the dutch oven and let rest on the cutting board. Slice and enjoy with Creamy Tomato Bisque Soup!!

Can this be made with a kitchen aid? I prefer it because it’s easier on my hands! How long would I mix for?
Hi Allisyn! Thats a great question, to be honest with you I haven't tried it with a stand mixer, but I don't see why not, I would mix until everything is combined, probably few minutes. Hope this helps!