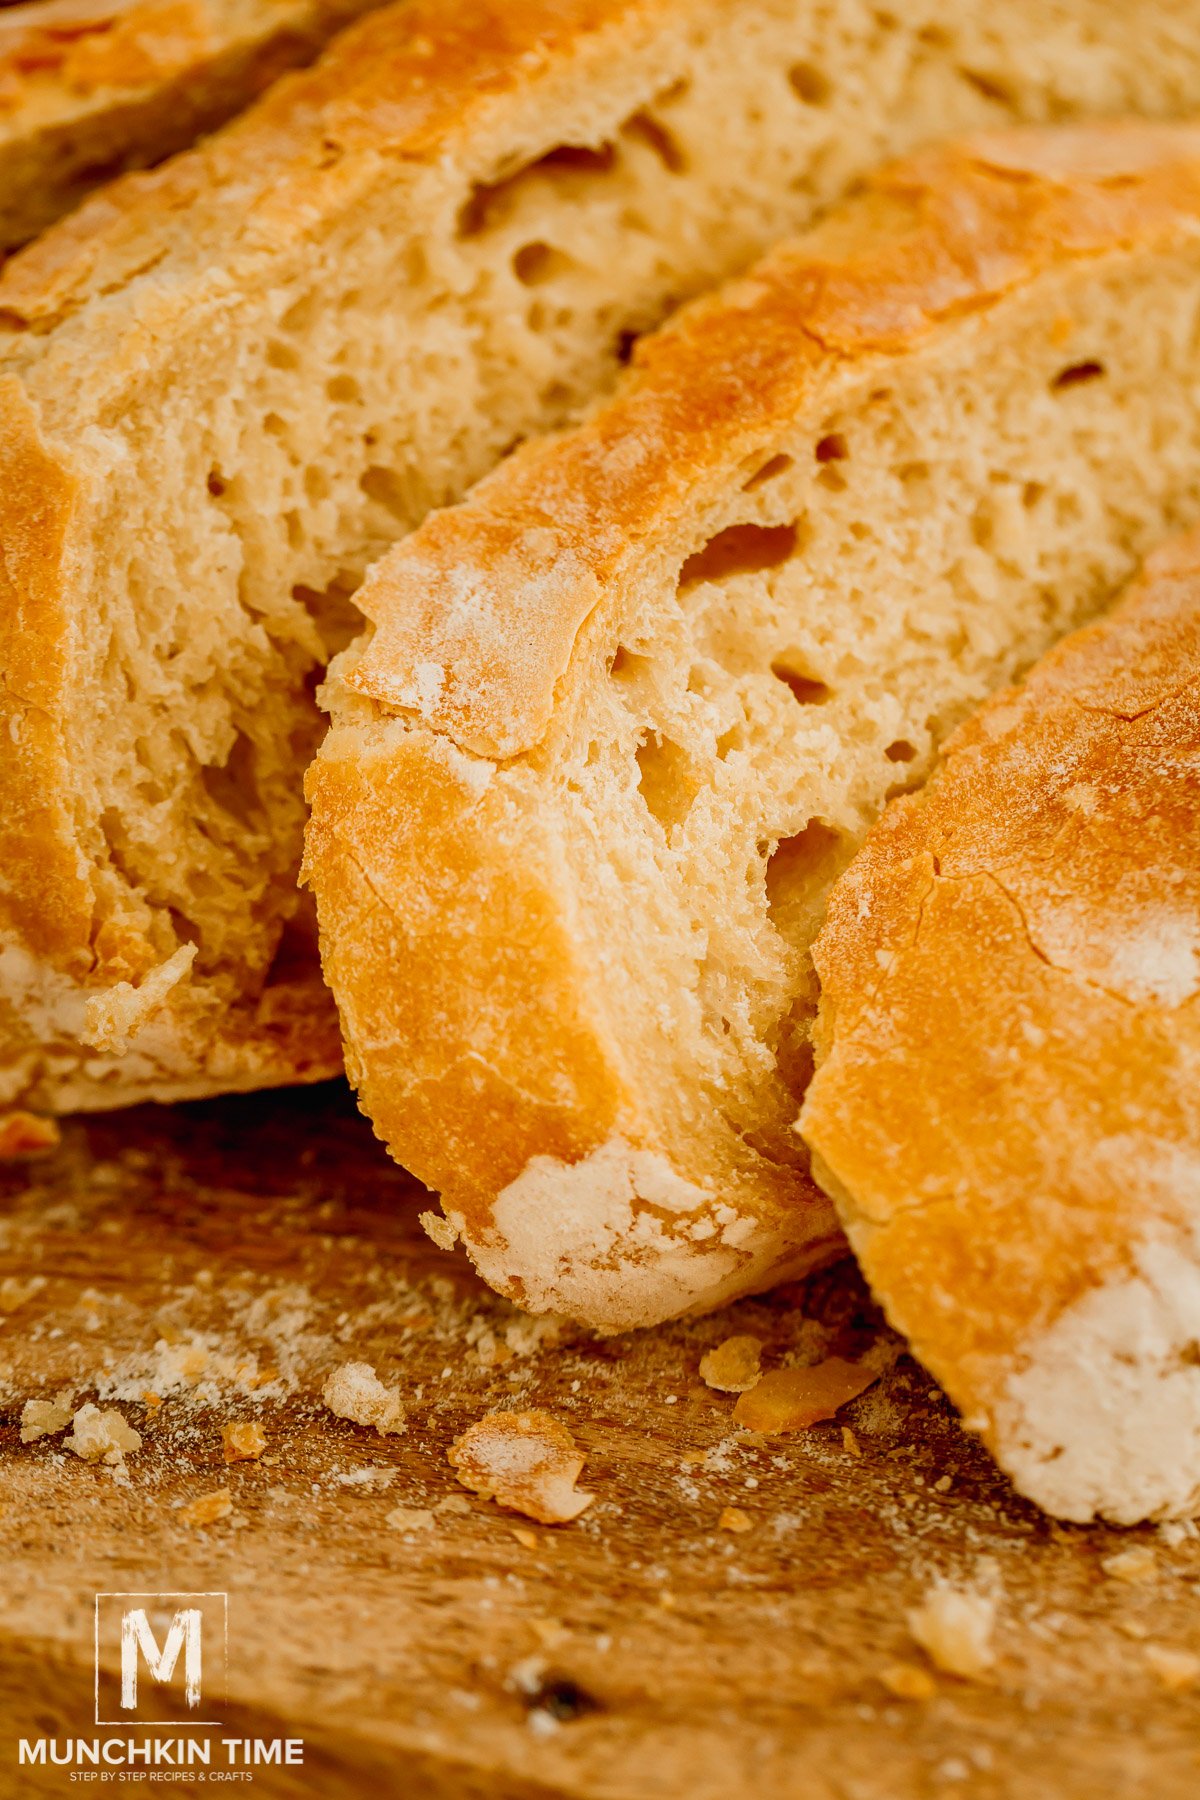
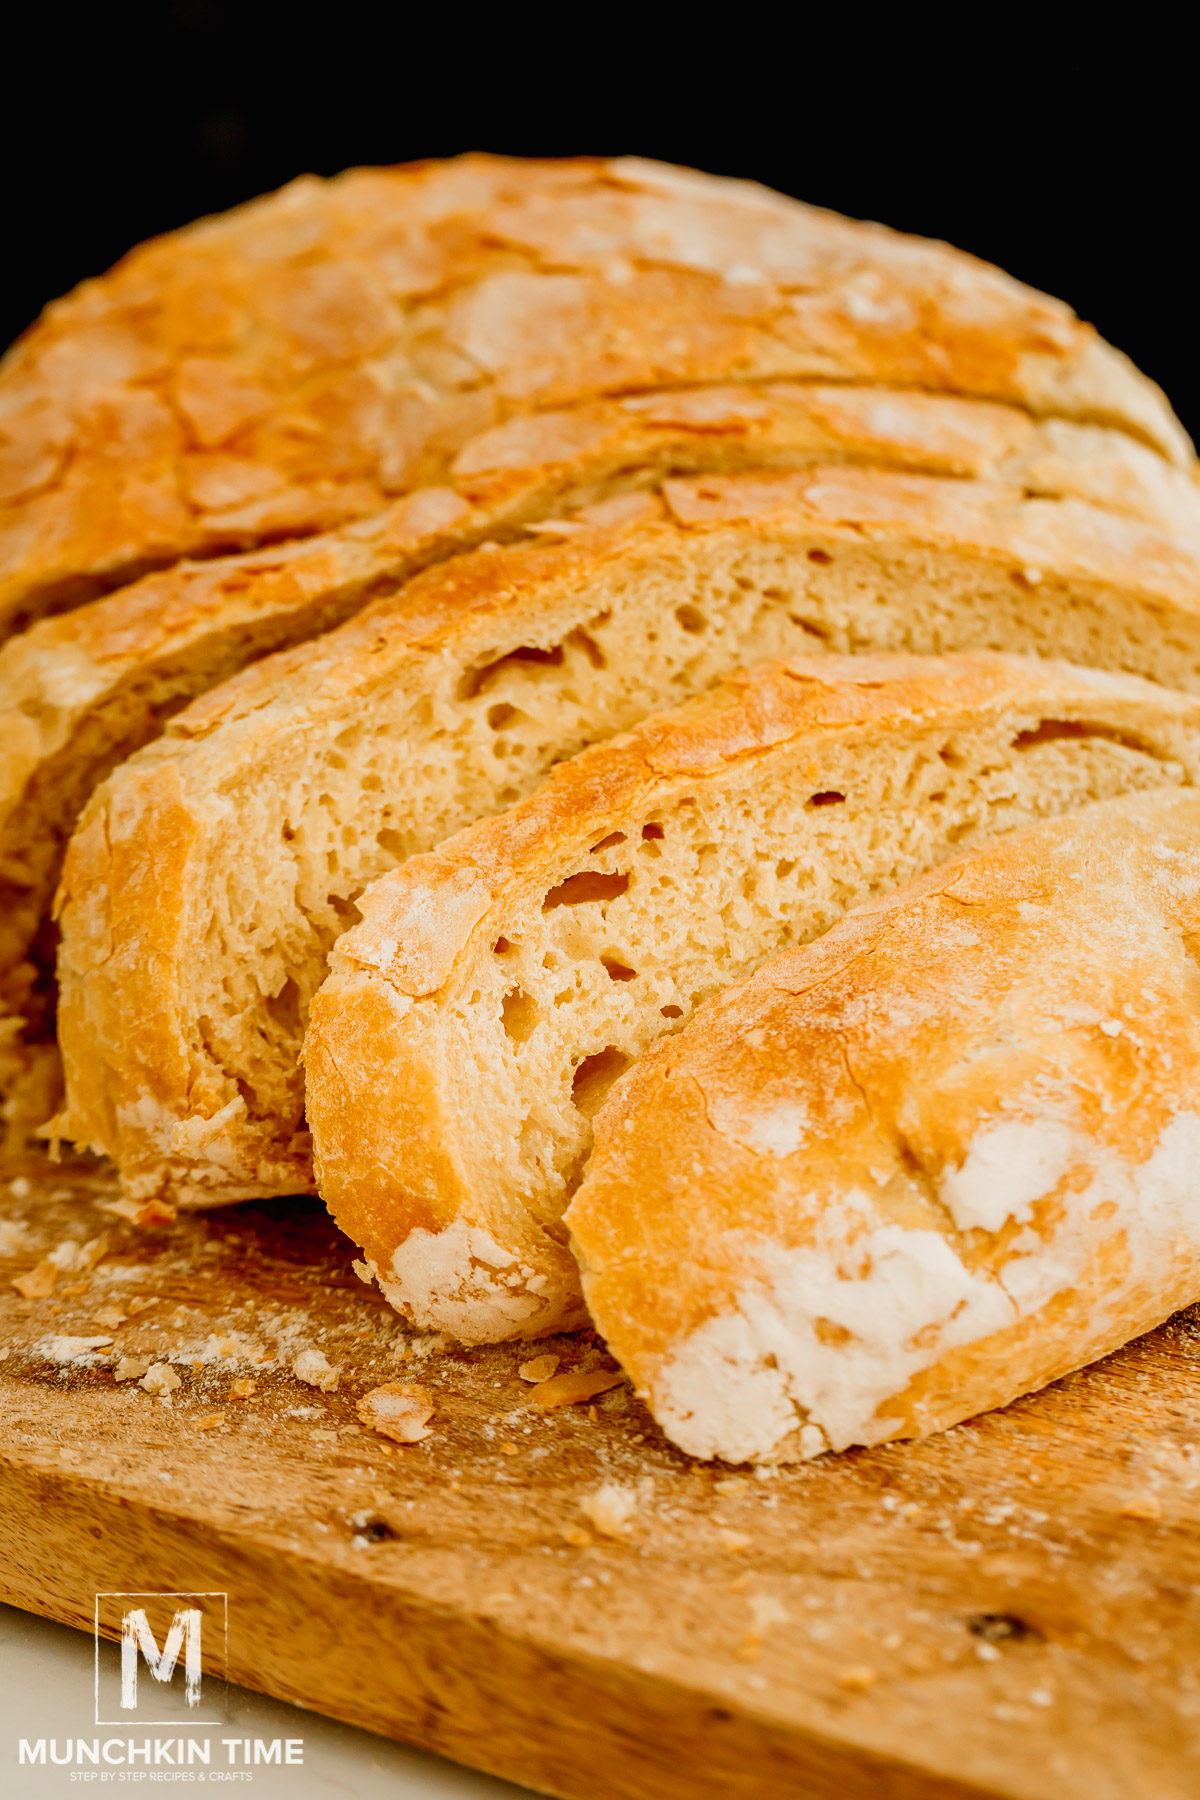
Best No Knead Bread Recipe - is truly irresistible! The crispy crust and tender crumb are impressive enough to wow your guests! They’ll never know how easy it was to make with just 4 simple ingredients!
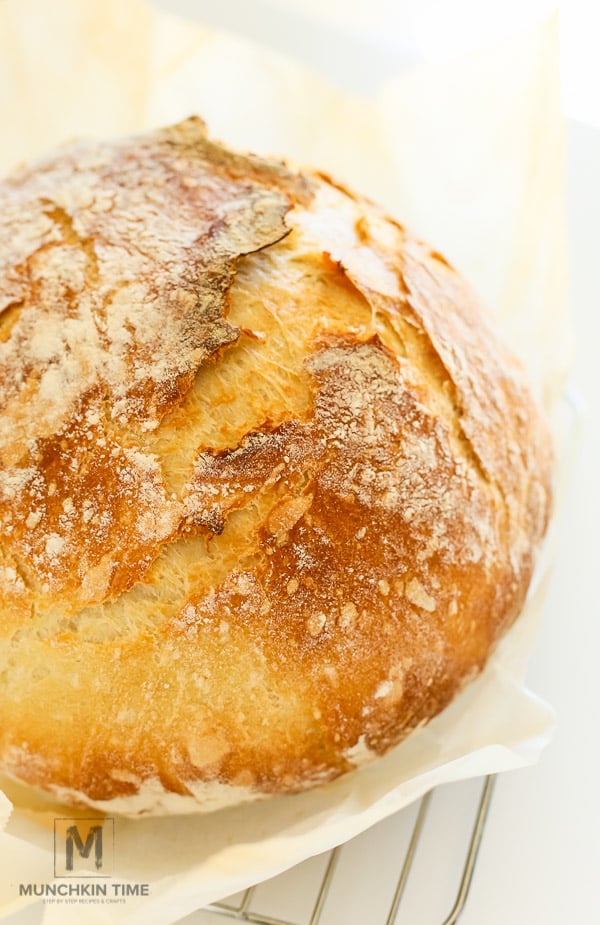
It’s the perfect bread recipe for beginners to learn how to bake bread. I will show you tips and tricks on working with yeast, and there’s no arm wrestling with the dough! The hardest part is waiting for the dough to rise, but believe me, it’s worth the wait!
It contains no MSG, refined sugar, or artificial ingredients which means it tastes better than anything bought at a bakery bread and is much healthier than any store-bought bread!
If you’ve ever been hesitant to try it yourself, you’re in for a delightful surprise. This easy bread recipe is precisely that. Easy! Gaining confidence in the kitchen is something every home cook strives for. That, and having your house smell like a bakery. Either way, baking bread from scratch is the way to do it!
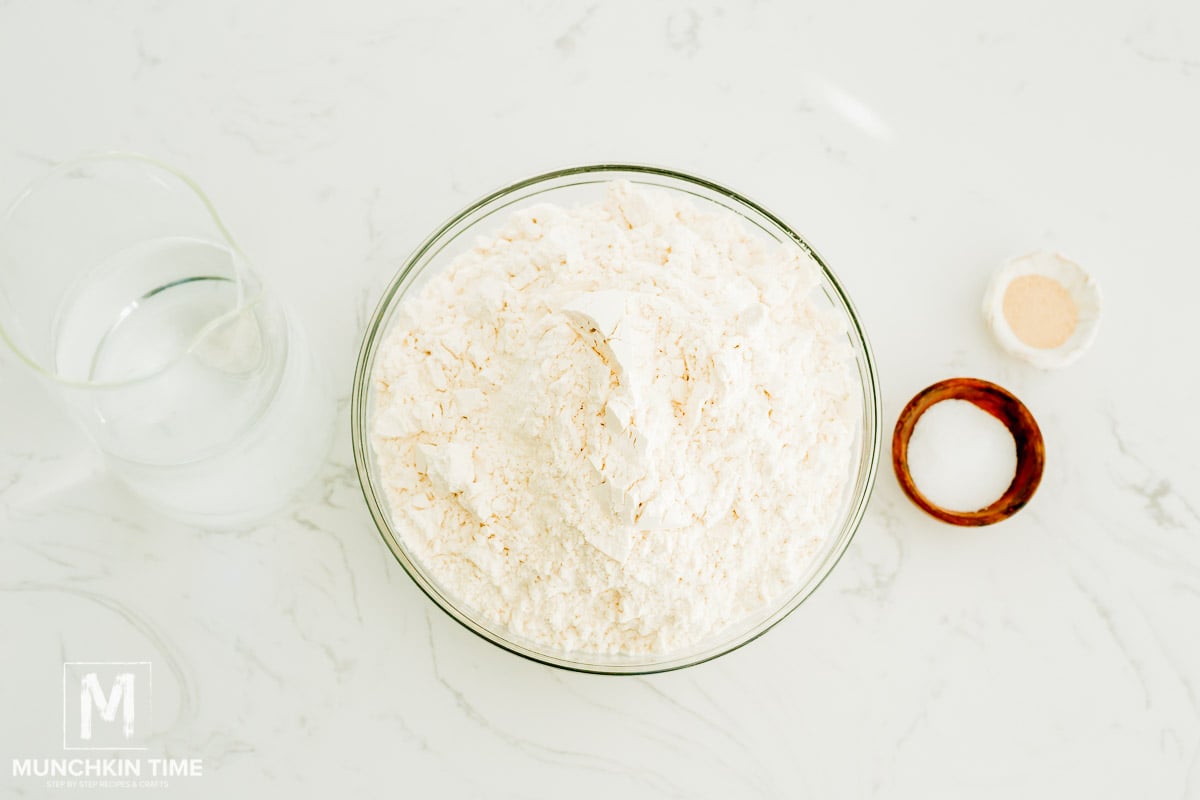
Ingredients Needed for No Knead Bread
- All-purpose flour: Working with flour can be finicky. I use all-purpose because I know it’s neutral tasting and will result in the texture I am looking for.
- Kosher salt: Without salt, bread would be a bit bland! It’s a great flavor enhancer.
- Active dry yeast: This is what makes the bread rise!
- Lukewarm water: In order to activate the yeast, it needs a warm liquid.
How to Bake Bread in Oven
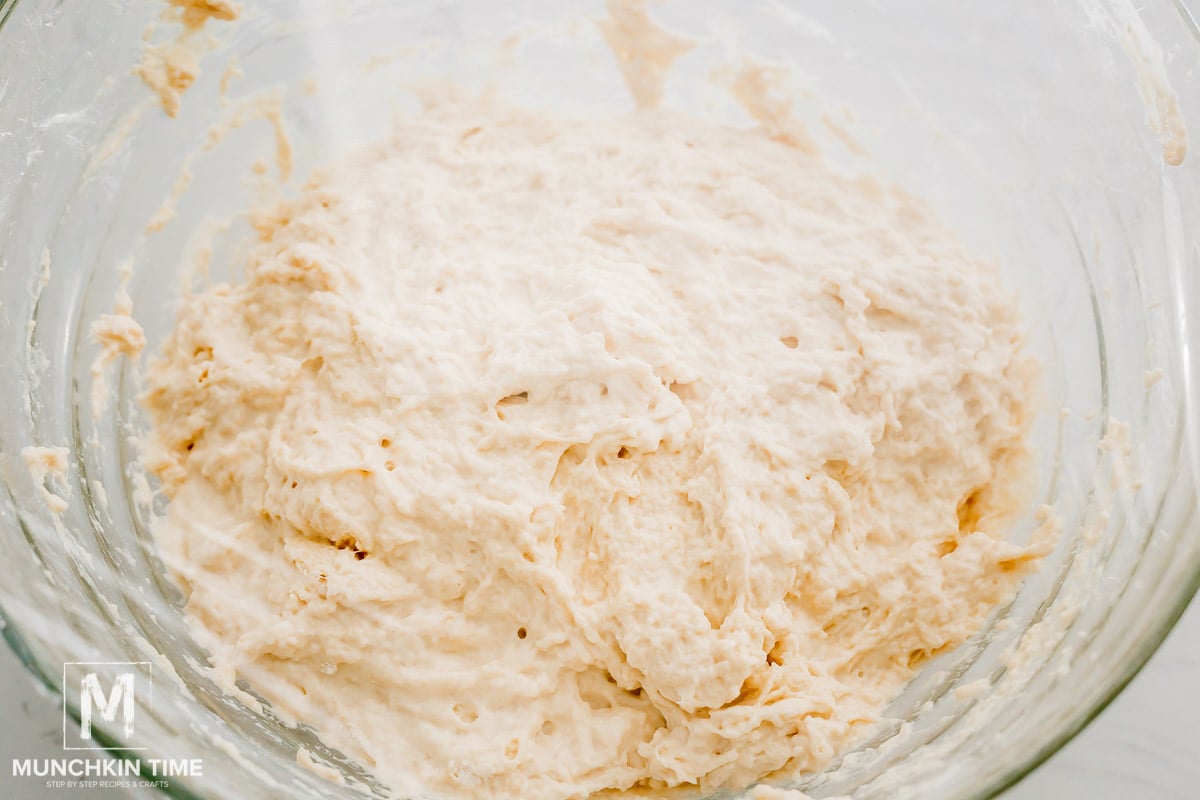
Step 1: Combine flour, salt, dry yeast, and water into a large bowl. Mix until combined and then cover it with a kitchen towel or plastic wrap. Let it sit in a draft-free area at room temperature for at least 8 hours, or overnight.
Step 2: Preheat the oven to 450 degrees F. Place an empty Dutch oven with the lid on inside the oven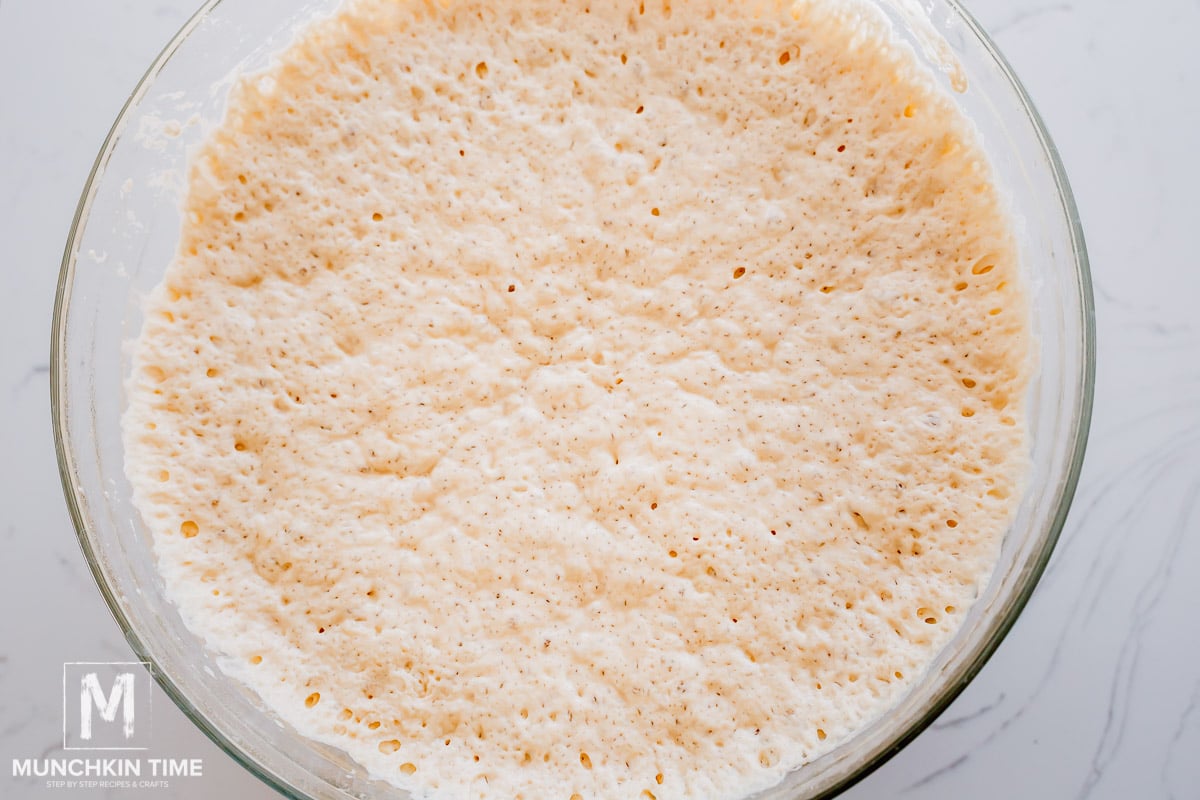
Step 3: While the Dutch oven is getting hot, grab the bowl of dough that should have risen by now (if it hasn’t, your yeast is no good!). Flour your hands and form the dough into a ball.
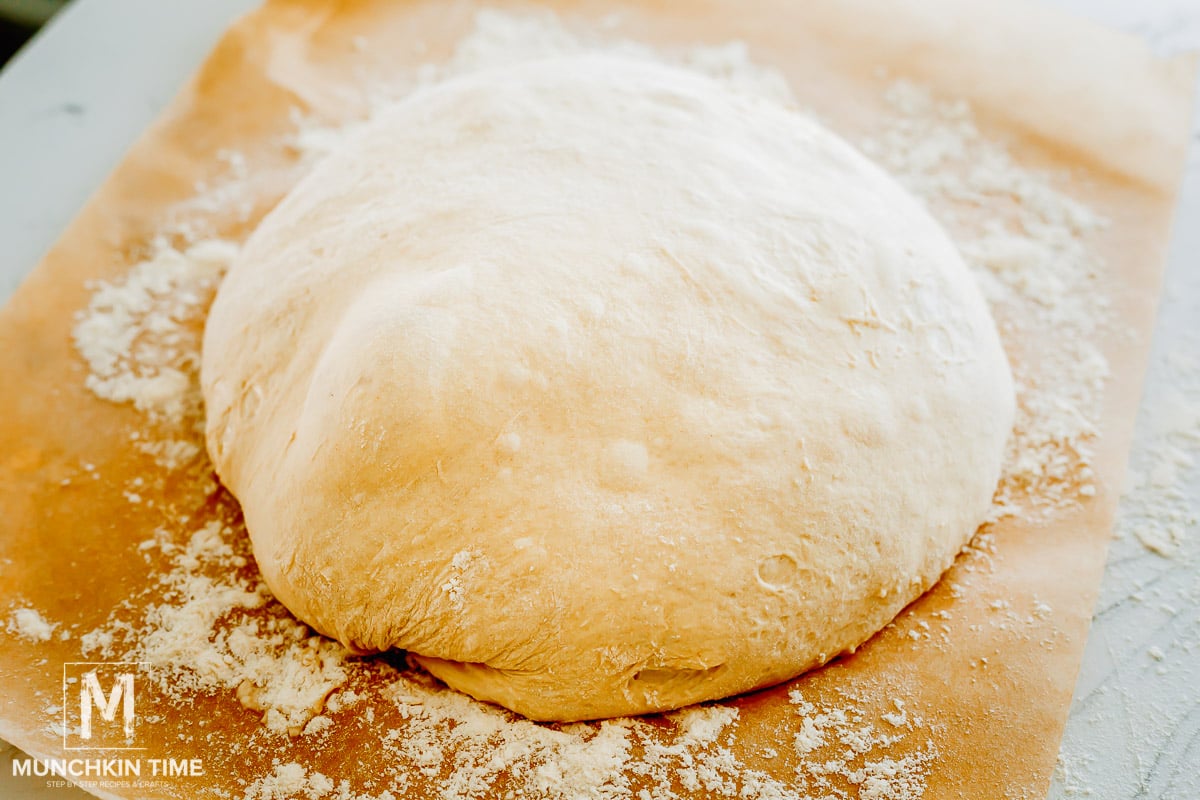
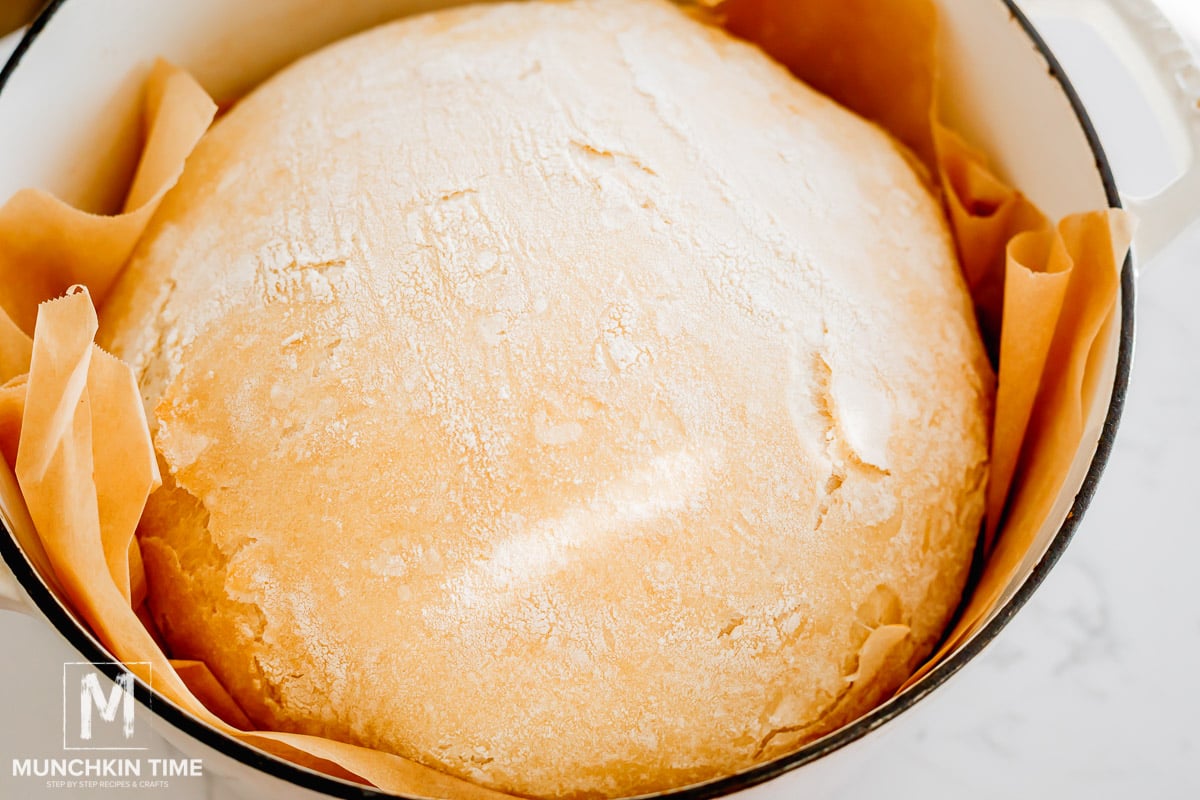
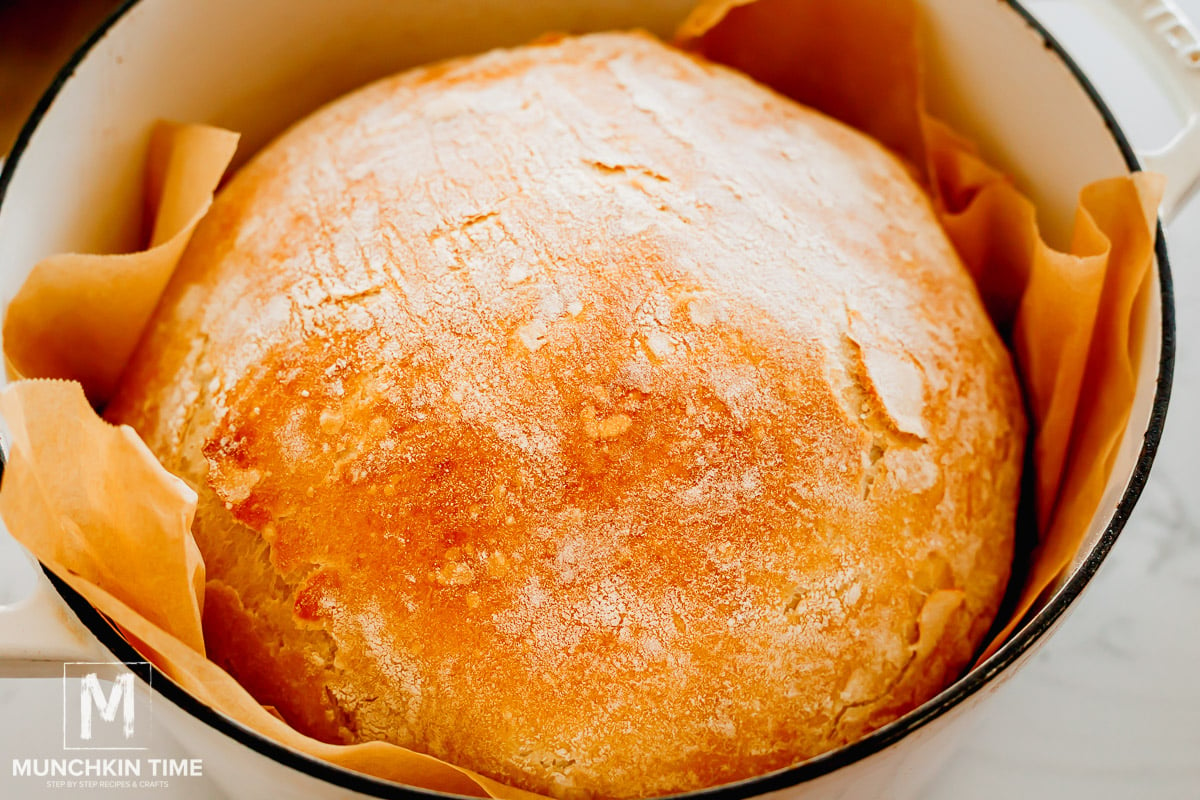
Step 5: Open the oven door and carefully remove the Dutch oven using oven mitts. Remove the lid and place the dough (with the parchment paper) inside the Dutch oven. Replace the cover and place it back inside the oven.
Step 6: Bake for 30 minutes then uncover it and bake without a lid for 10 minutes more. It should be a nice golden-brown color.
Step 7: Once baked, remove the bread from the Dutch oven and let it cool to room temperature before serving. Slice with a serrated bread knife and enjoy!
Bread Recipe Tips
This is the easiest and best bread recipe and these helpful tips are here to make it even easier!
- Measure your flour correctly. When baking anything at all, it’s super important to measure properly using the spoon and level method. What this means is that instead of scooping the flour directly from the bag into your measuring cup, you’re using a spoon to scoop it out and add it to the measuring cup. When you scoop it out, you end up packing down the flour, leaving little room for air. This means you’re using more flour than necessary which could result in dense, heavy bread. We want ours light and airy!
- Test your yeast. There’s nothing worse than waiting 8 hours for bread to rise, and nothing! If your yeast has been sitting around for a while, perhaps it’s expired, smell it first. If it smells off, discard it and get fresh yeast. If you’re not sure, test a bit of it first. Let it sit in some warm water. If it starts to bubble and foam, it’s still active. If not, it’s dead and should be replaced.
- Keep the dough warm. During the second rise, while the Dutch oven is heating up, I like to place the dough near it. The warmth from the oven makes it rise faster.
- Different environments. Depending on where you live, the environment you live in, and the area of your kitchen you keep your dough, these factors will affect rise time. Just keep an eye on it!
- Added sugar. This no knead bread recipe doesn’t need it, but because yeast not only thrives in warmth it also feeds on sugar, it will help it to rise faster. It may also add a bit of extra flavor to your bread!
FAQs
You don’t! That’s part of the appeal of a quick and easy bread recipe. We take shortcuts!
After the first rise, it’ll have doubled in bulk and will be light, sticky, and a bit flimsy. Once you work with it and start forming it into a ball, you’ll notice the gluten starting to activate, which will make the dough a bit sturdier.
If you notice it is still a bit too sticky, sprinkle it with a little extra flour.
The crust doesn’t start getting its color until the lid comes off, at which point the inside of the bread is well on its way to being done! This means that if you want a lighter crust, just leave it uncovered for 10 minutes. If you want it darker and crispier, leave it baking uncovered a little longer.
When we preheat the Dutch oven first, we’re providing the perfect environment for steam. By doing this we’re keeping the bread moist long enough so that the crust doesn’t become dry too quickly. The bread has time to bake and expand and then the crust catches up and becomes crispy afterward!
SOUP IDEAS to Enjoy with Homemade Bread:
Q. – Did YOU like No Knead Bread Recipe?
Let me know in the comments below, I would love to hear from you!
When YOU make No Knead Bread Recipe tag us on Instagram @MunchkinTimeBlog, we would love to see your bread creation!
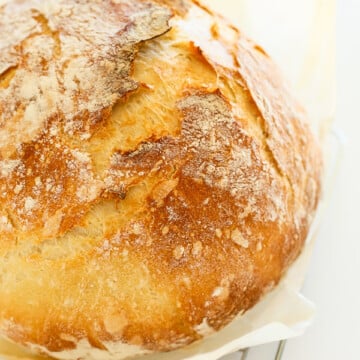
Best No Knead Bread Recipe
Equipment
Ingredients
- 6 cups all-purpose flour
- 3-4 teaspoon Kosher salt
- 1 teaspoon active dry yeast
- 3 cups lukewarm water
Instructions
- In a large bowl add flour, salt, dry yeast and water. Mix until combined. Cover the bowl and let it rest in the room temperature for about 8 hour or over night.
- Preheat the oven to 450F. Place Dutch oven with a lid on inside the oven for 30 minutes. In a meanwhile flour your hands with flour and form your dough into a ball, then place it on a floured parchment paper and let it rest for 20-30 minutes (I usually let the dough rest on or near the oven stove, the warmth from the oven makes it rise faster).
- Carefully place your dough with parchment paper inside the Dutch oven, cover and bake for 30 minutes. Uncover and bake without a lid for 10 more minutes or until nice golden-brown color.
- Remove the bread from Dutch oven and let it cool till room temperature. Slice with a bread knife and enjoy!
Video
Notes
Nutrition
Have a wonderful day!
=)
This post was updated June 17, 2022, the recipe didn't change!

I have made this twice and both times my dough was really runny - so at the “firm it into a ball” step I just scrape down the sides of the bowl and try to pull the edges back to the middle with a spatula and then let it rise, again in the same bowl. Transfer into the Dutch oven is more of a flopping in of gelatinous goo - but the bread turns out yummy, nonetheless. Just curious if I should try adding more flour or…?
Oh no! The dough should not be runny, yes please use more flour to form a ball, before letting it rise one last time before baking. Hope this helps!