Khachapuri Recipe - This traditional Georgian cheese bread is made with a boat-shaped crust with golden crispy edges and a cheesy filling made with mozzarella and feta and an egg nestled in the middle!

This khachapuri recipe is one of my favorite things to eat for brunch. Also known as Georgian cheese bread, it’s made with a dough made from scratch, shaped into a boat, and filled with cheesy goodness.
As much as I love sharing classic American recipes, I love sharing cultural dishes like Russian lazy meatballs kotleti, beef rice pilaf, chocolate Spartak cake, Beshbarmak, and the best pelmeni even more! There’s something so special about learning from others through food. This is why I had to share my favorite khachapuri recipe with you.
There are many different ways to make and enjoy this dish, but no matter how you enjoy this khachapuri, you’re going to fall in love with it as much as I do!
What is Khachapuri?
There are many different types of khachapuri depending on the Georgian region, and this one happens to be Adjarian khachapuri, named after the Adjara region on the Black Sea. It's considered to be one of Georgian’s traditional dishes, whether as a street food, something served in restaurants, or made at home.
Regardless of what kind it is, it's some version of pastry or dough filled with a cheesy filling. And each one is as delicious as the next!
Why You’ll Love This Recipe
- A way to learn something new! It’s a traditional recipe that’s not as well known in the States as in other parts of the world.
- It is easy to make and worth the effort to make dough from scratch.
- You can customize the cheesy filling to your liking.
- It’s perfect for brunch, dinner, or any time in between!
Khachapuri Recipe Tips
- If you’re making the dough ahead, let it rise in the fridge overnight. Bring it to room temperature before working with it again.
- If you have a lame for scoring the top of sourdough bread, feel free to use it to cut through the top of the dough before flipping.
- The salt and pepper over the egg and on the crust is optional.
- The butter and dill garnish is also optional!
- To eat it, we like to mix the egg and cheese filling with a fork and rip off the sides of the bread and dip it right into the middle. So good!
- It’s best eaten right away!
Ingredients for Georgian Egg Bread
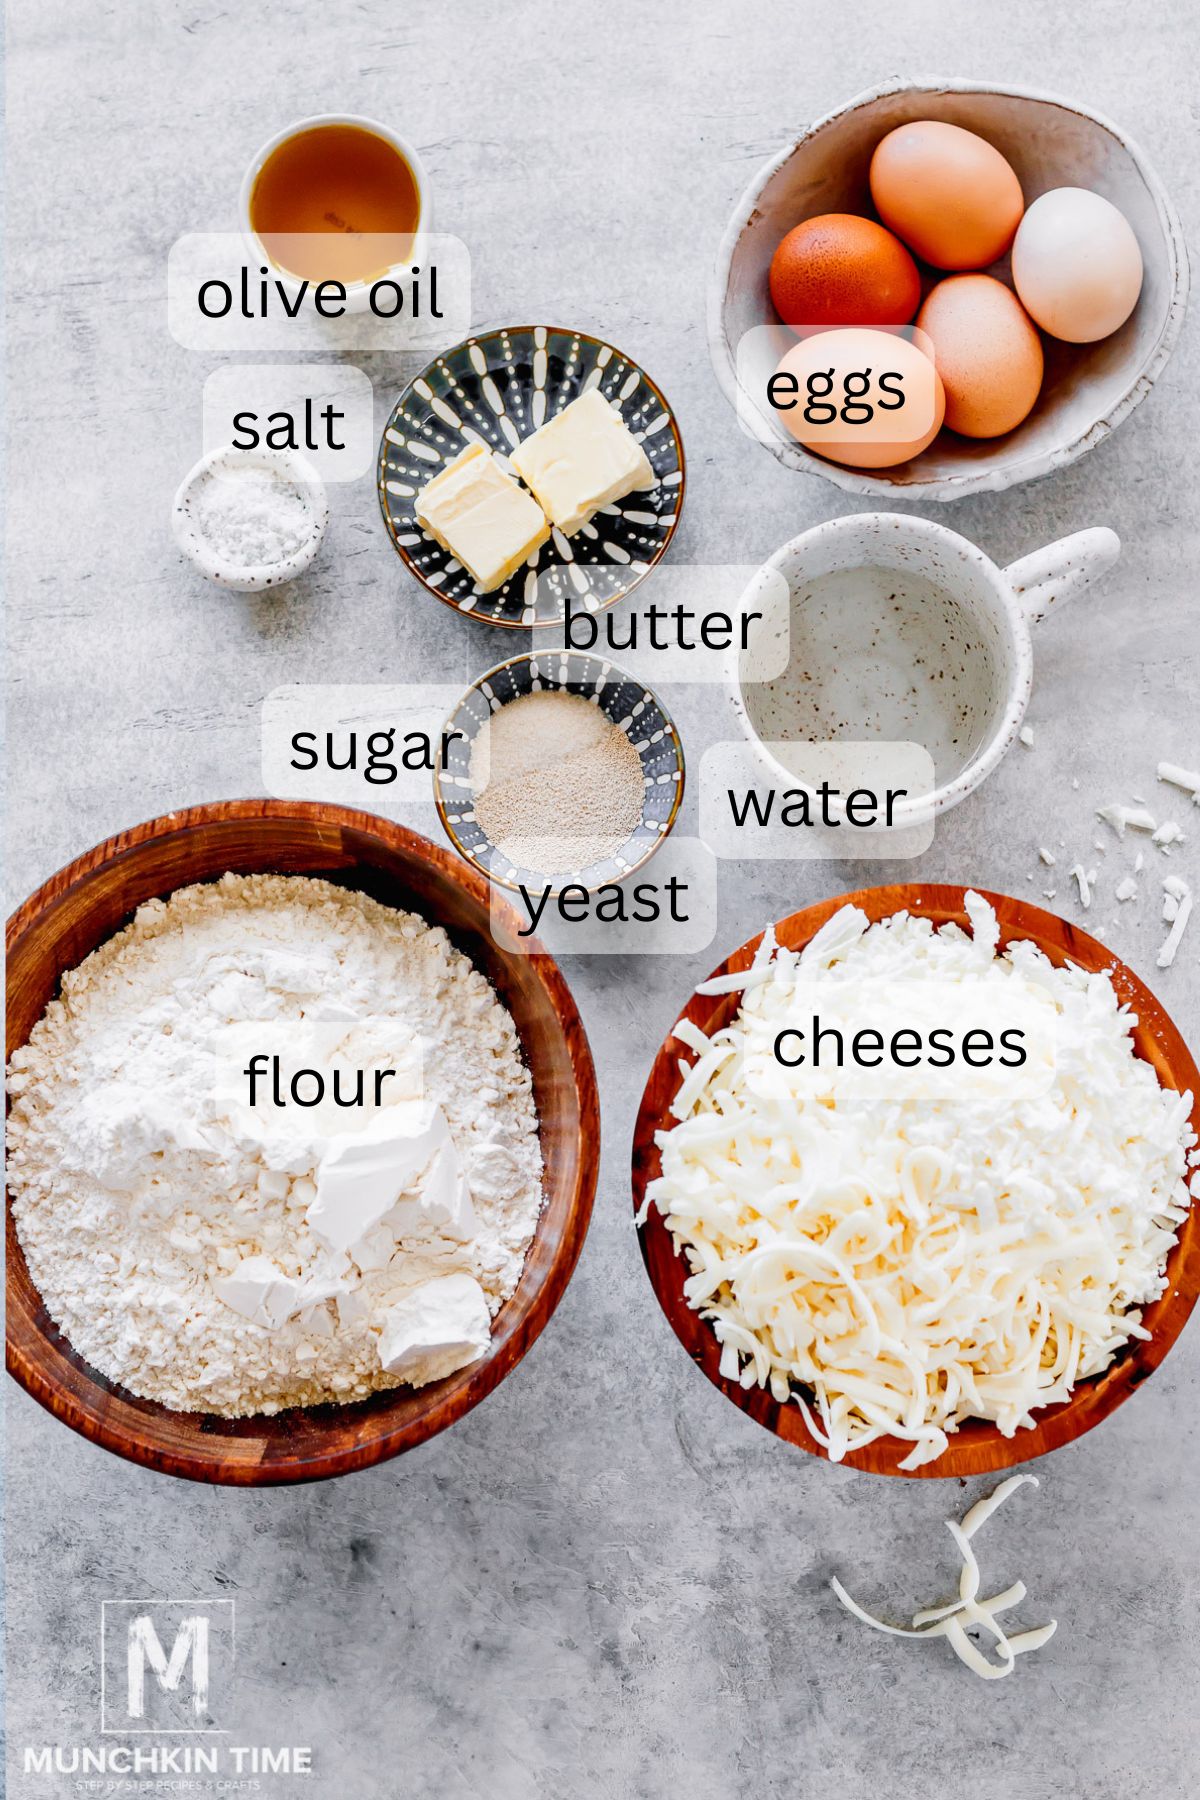
For the Dough
- Active dry yeast: This is what makes bread rise, so it’s important that it’s fresh and hasn’t expired. If yours has, you want to discard it and run out and grab some more.
- Sugar: Yeast feeds on sugar to help it activate.
- Warm water: The water turns the flour into a dough but it needs to be about 110 degrees F. If it’s too hot, it will kill the yeast. If it’s too cold, it won’t do anything and prevent the yeast from doing its job.
- All-purpose flour: When measuring flour, it’s important it’s done properly. If you don’t have a kitchen scale to be exact, use the spoon and level method. That way you’re not packing too much flour into the measuring cup.
- Sea salt: To enhance the flavor.
- Olive oil: For moisture and texture.
For the Khachapuri Cheese Filling
- Feta cheese: Gives the filling a bit of a salty, briny flavor, which is so good!
- Mozzarella cheese: Freshly grated mozzarella, please! Skip the pre shredded packaged cheese, it won’t melt as nicely.
- Eggs: You’ll need eggs for the filling, the topping, and the egg wash.
- Egg wash: When brushed over the bread before baking, it gives it a beautifully golden color.
- Salt and pepper: To taste.
- For Garnish: Butter and fresh chopped dill are optional ways to finish the Georgian cheese bread.
How to Make Khachapuri
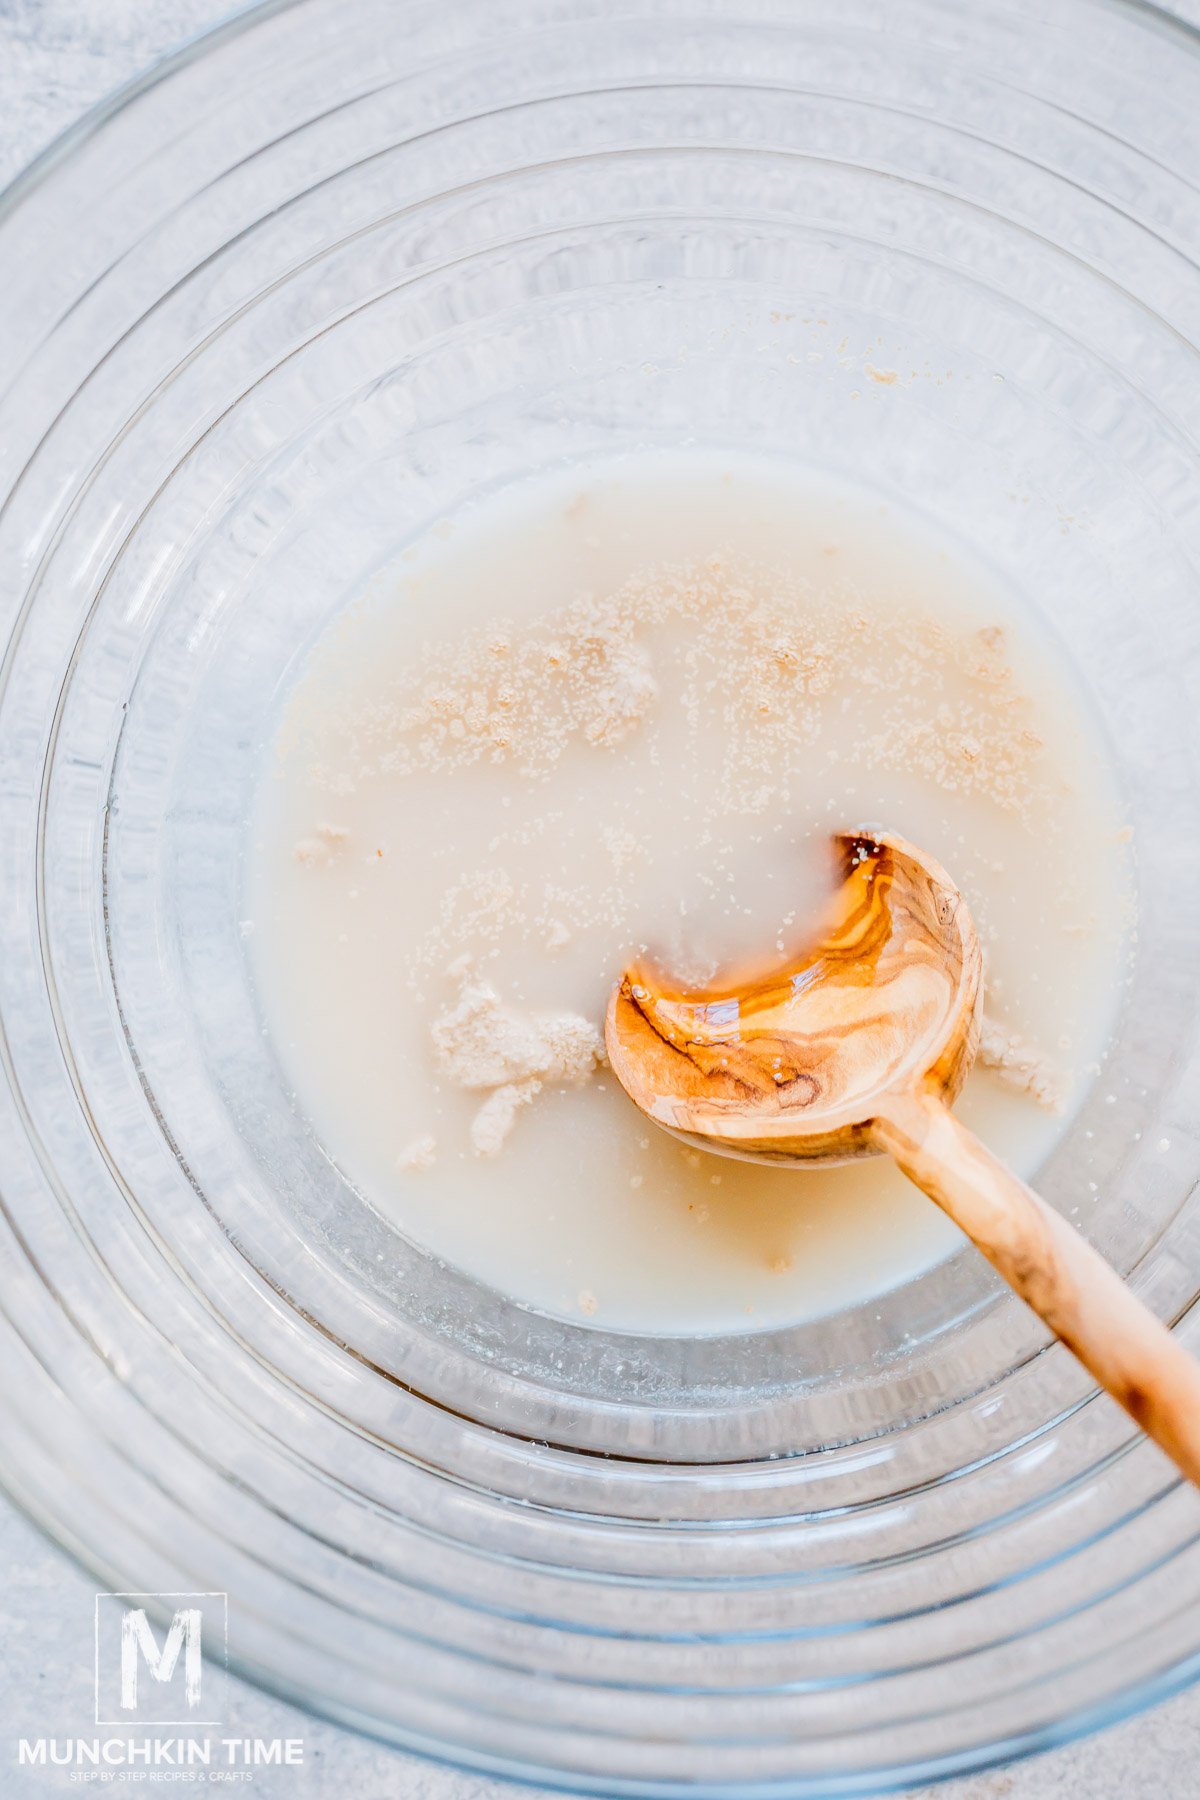
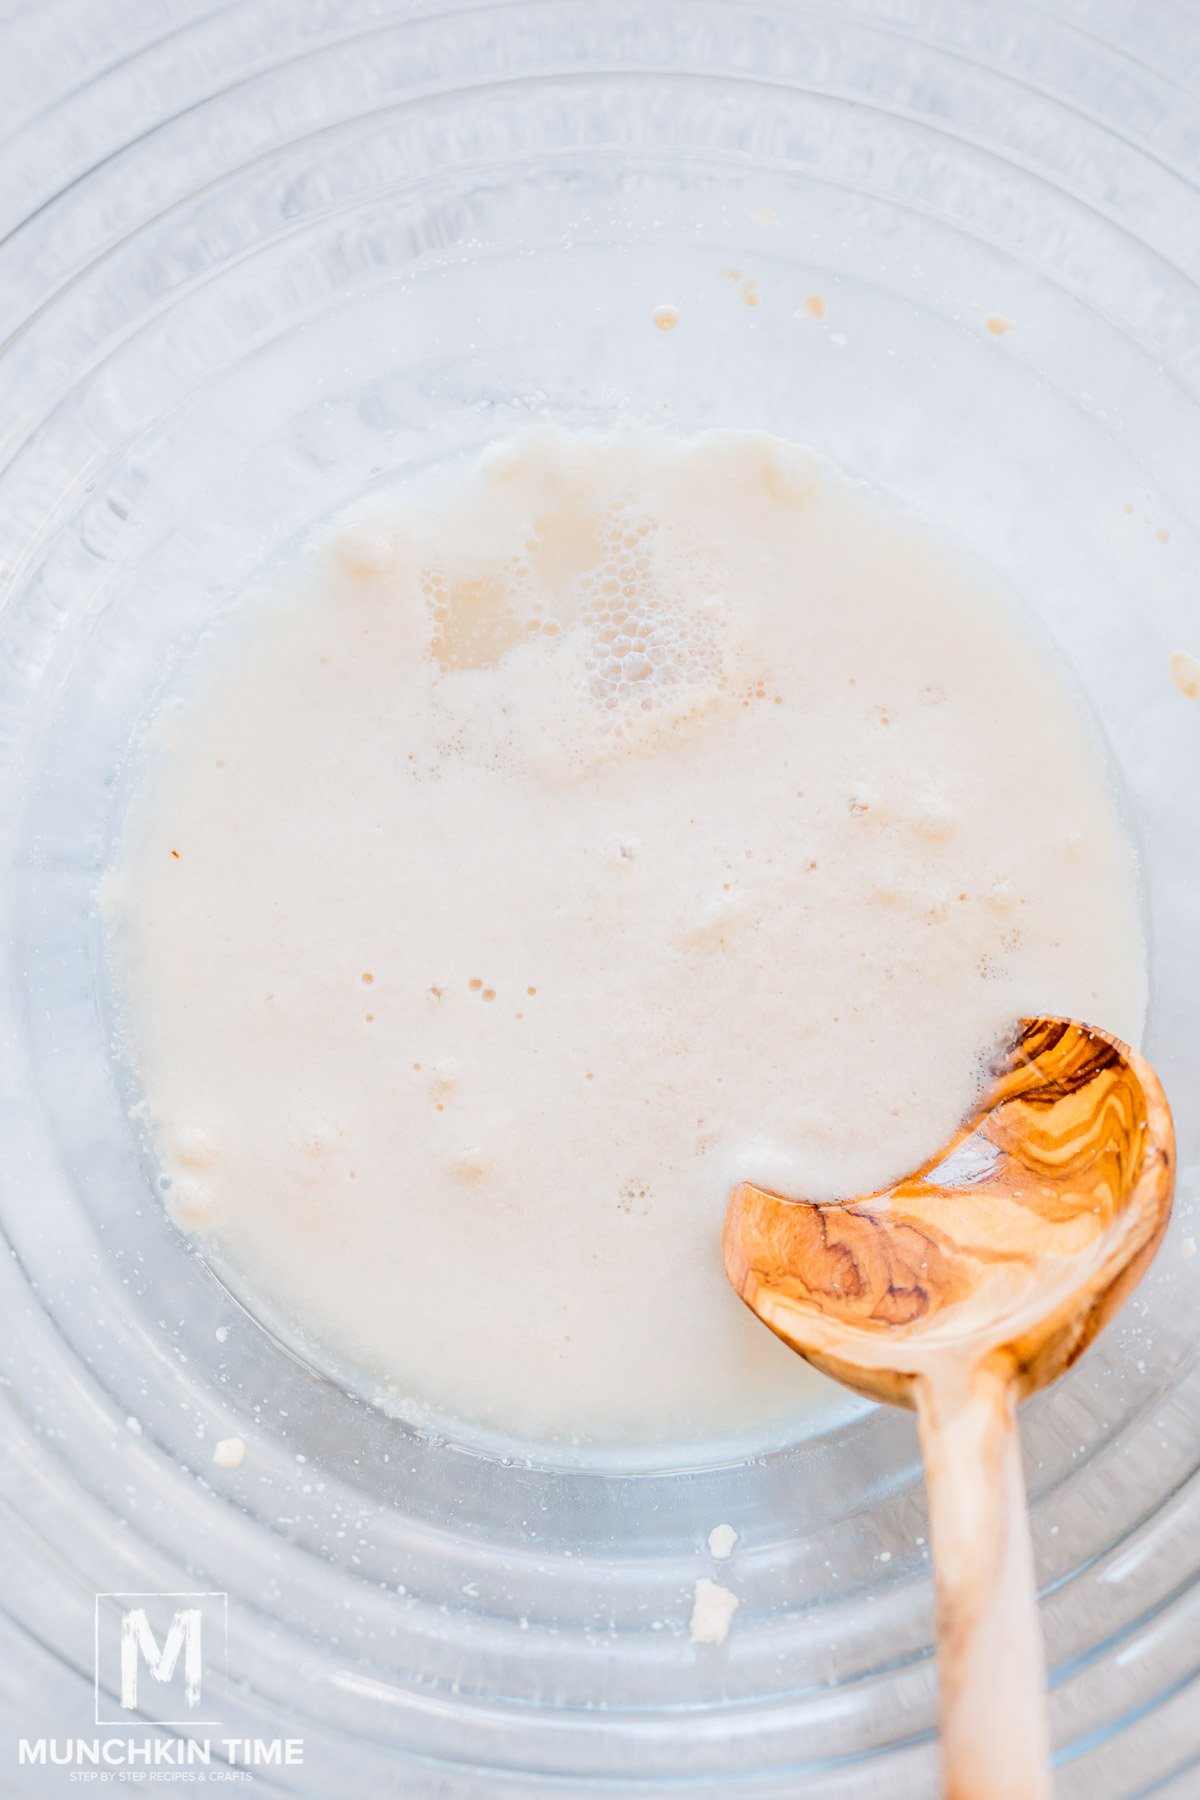
Step 1: Combine the yeast, sugar, and warm water in the bowl of a stand mixer. Let it sit for 5 minutes until it starts to foam. Proofing the yeast is how you know it’s fresh!
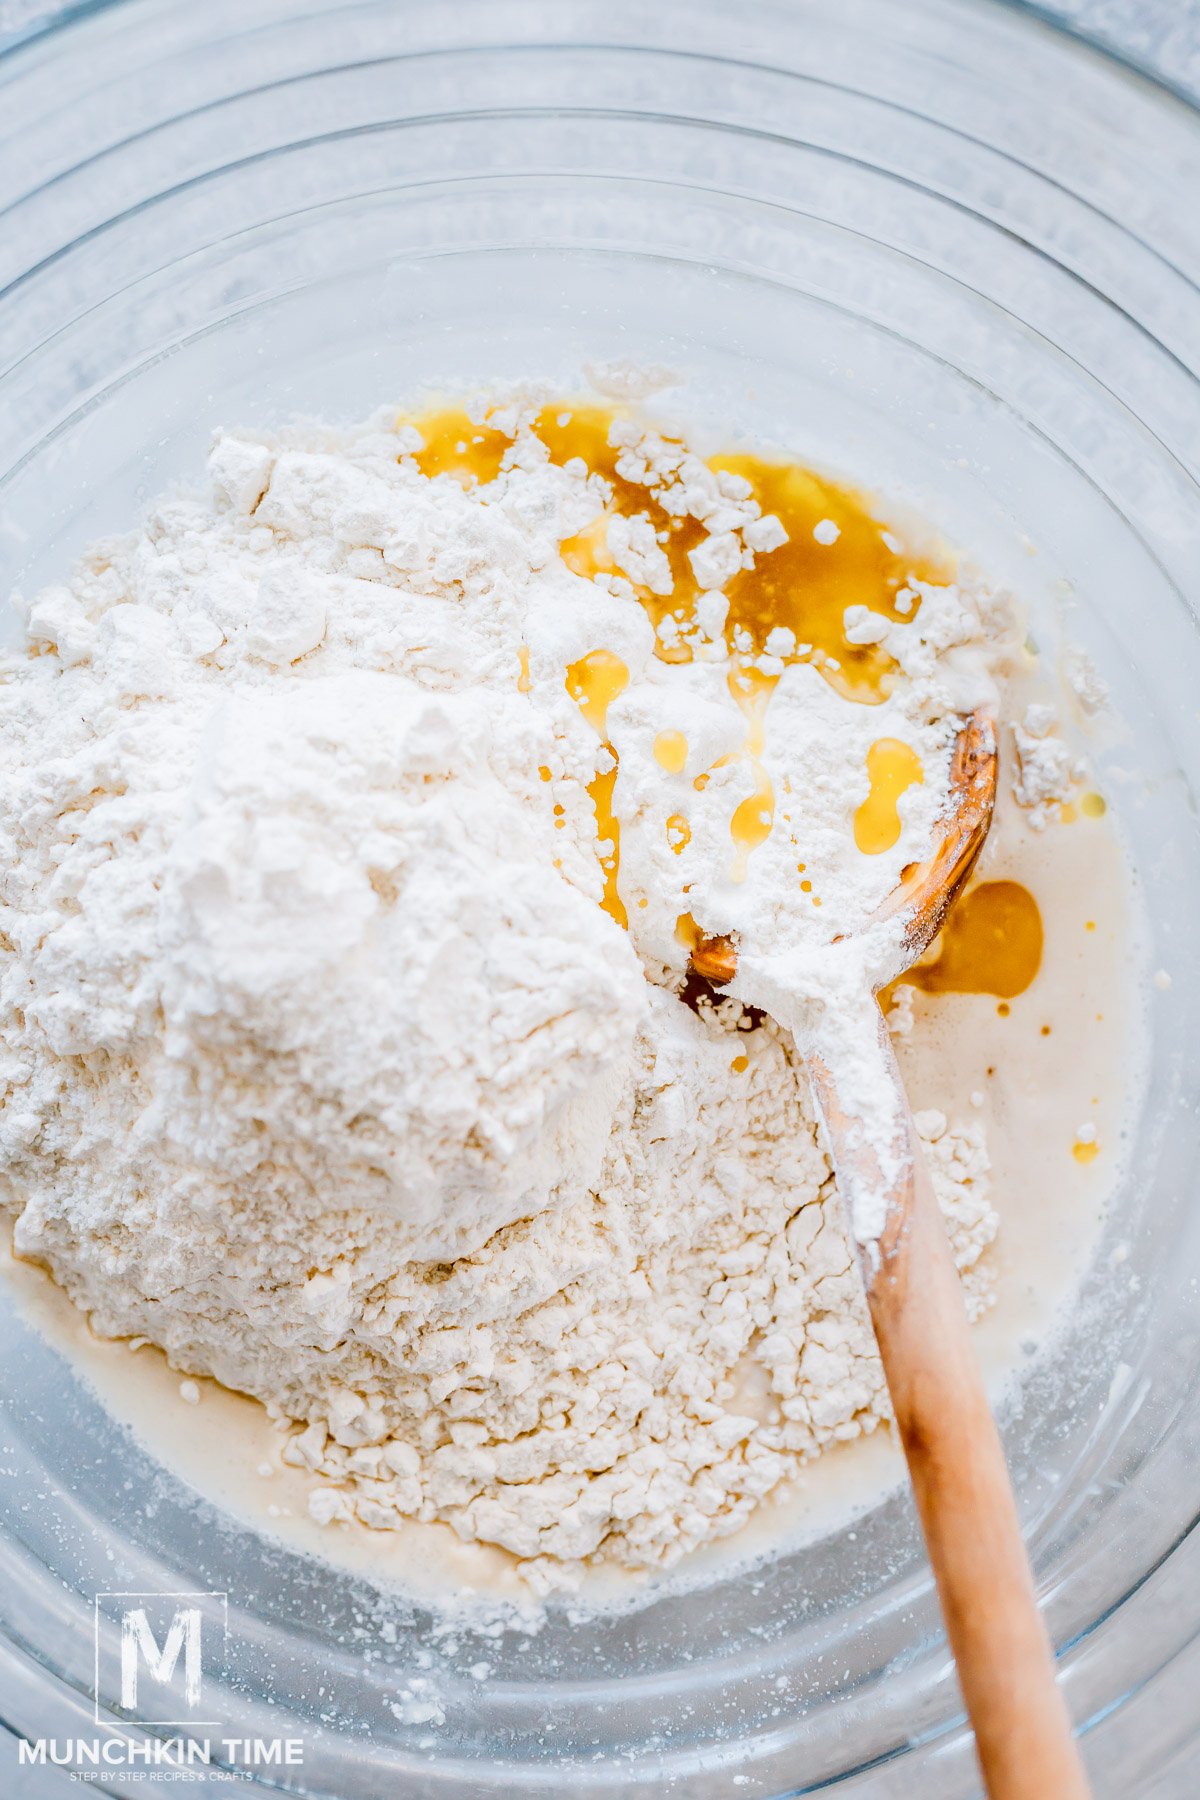
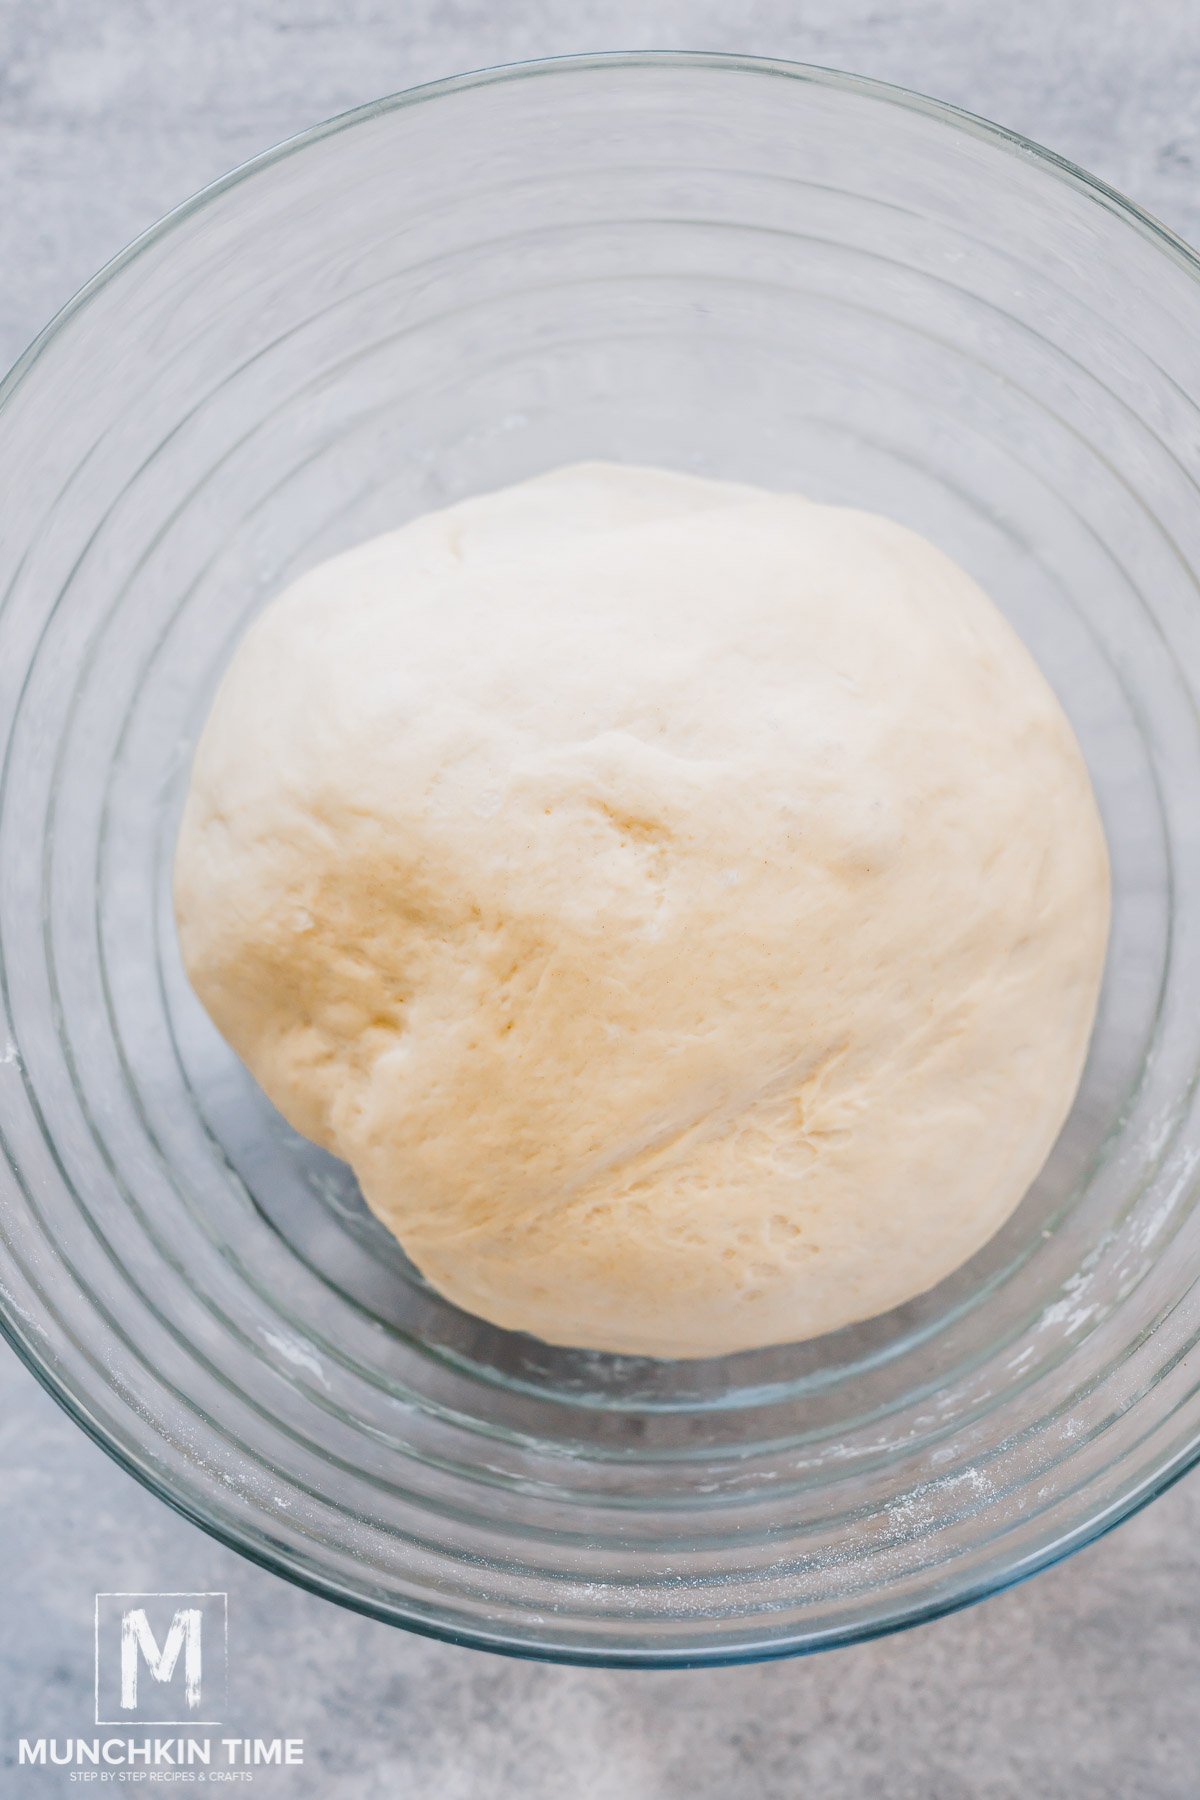
Step 2: Add the flour, salt, and olive oil. Knead the dough with the dough hook attachment for 7-10 minutes until the dough has an elastic texture, and it comes away from the sides of the bowl. Cover it with plastic wrap and let it sit in a warm area for 1-2 hours. If you’re making it ahead of time, you can refrigerate it overnight.
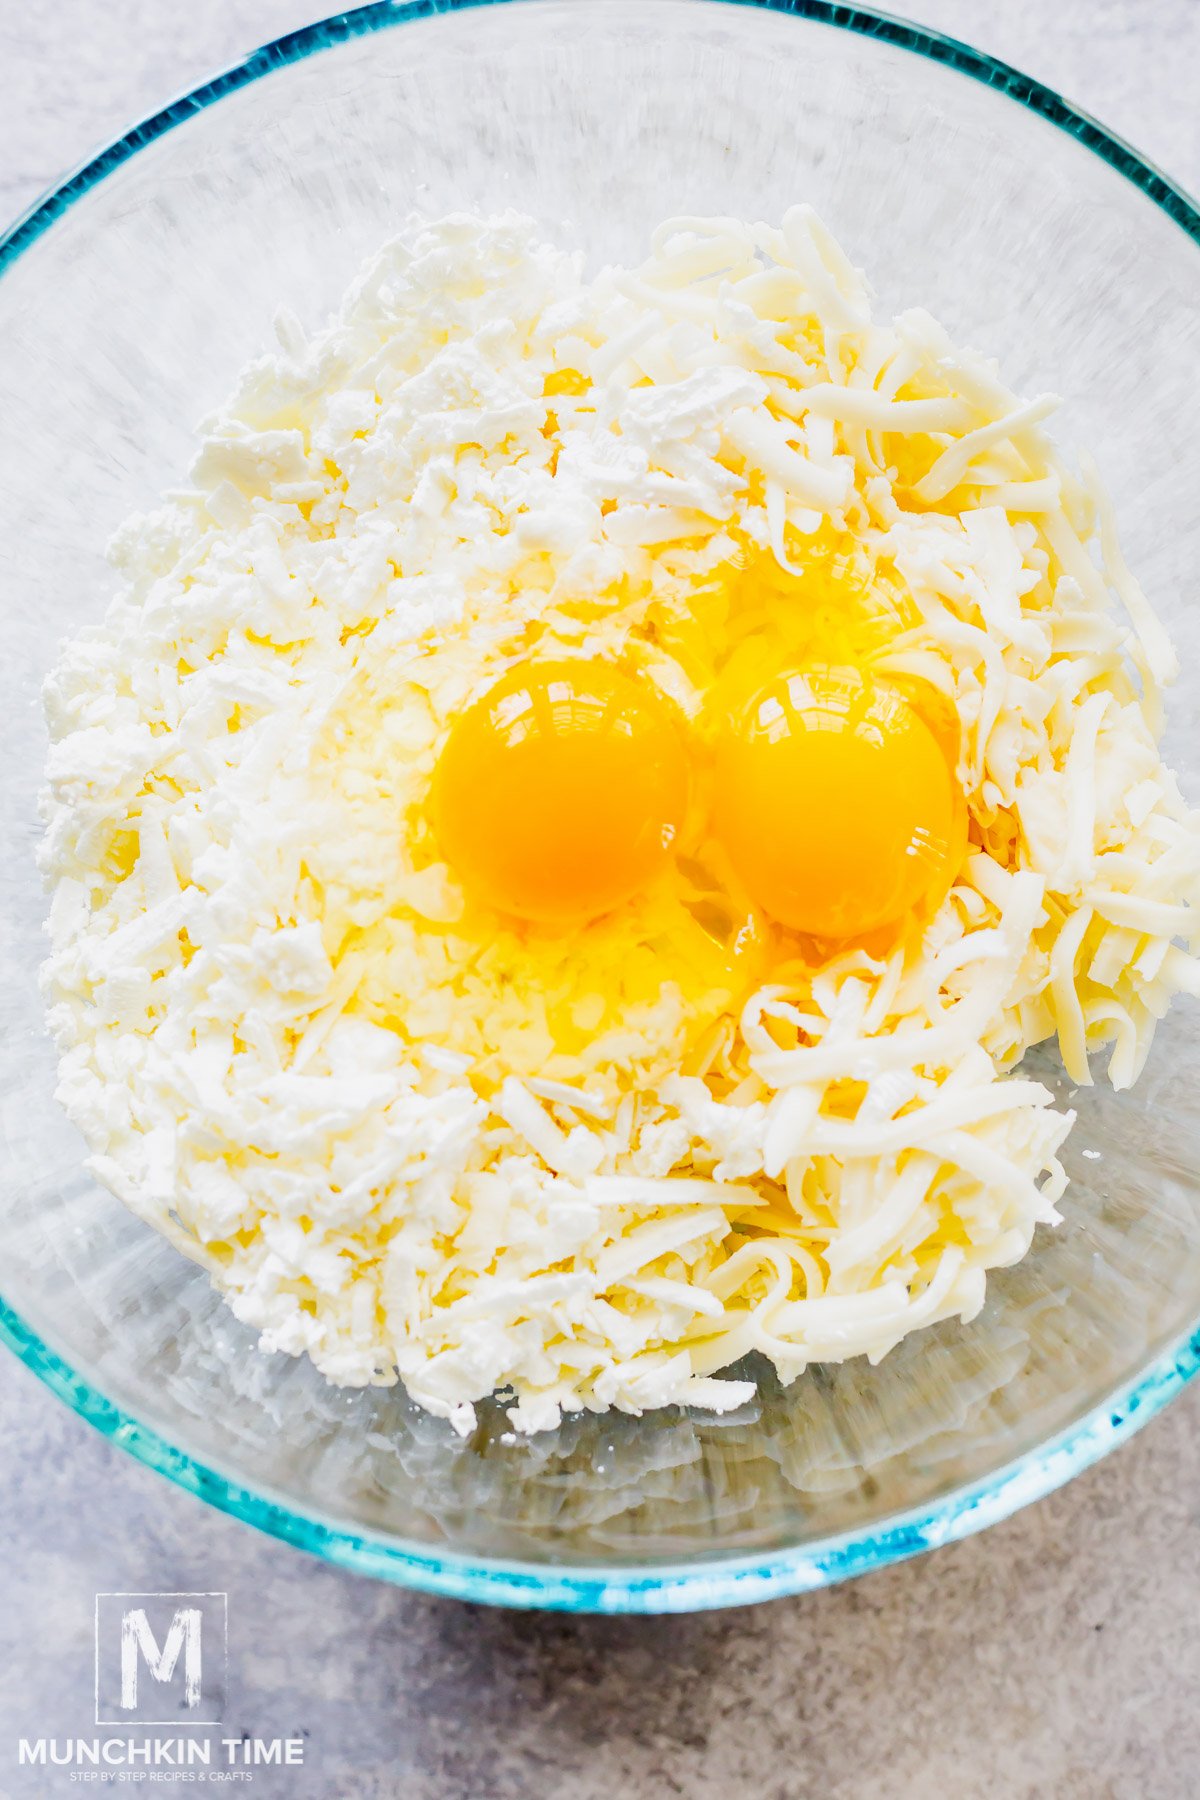
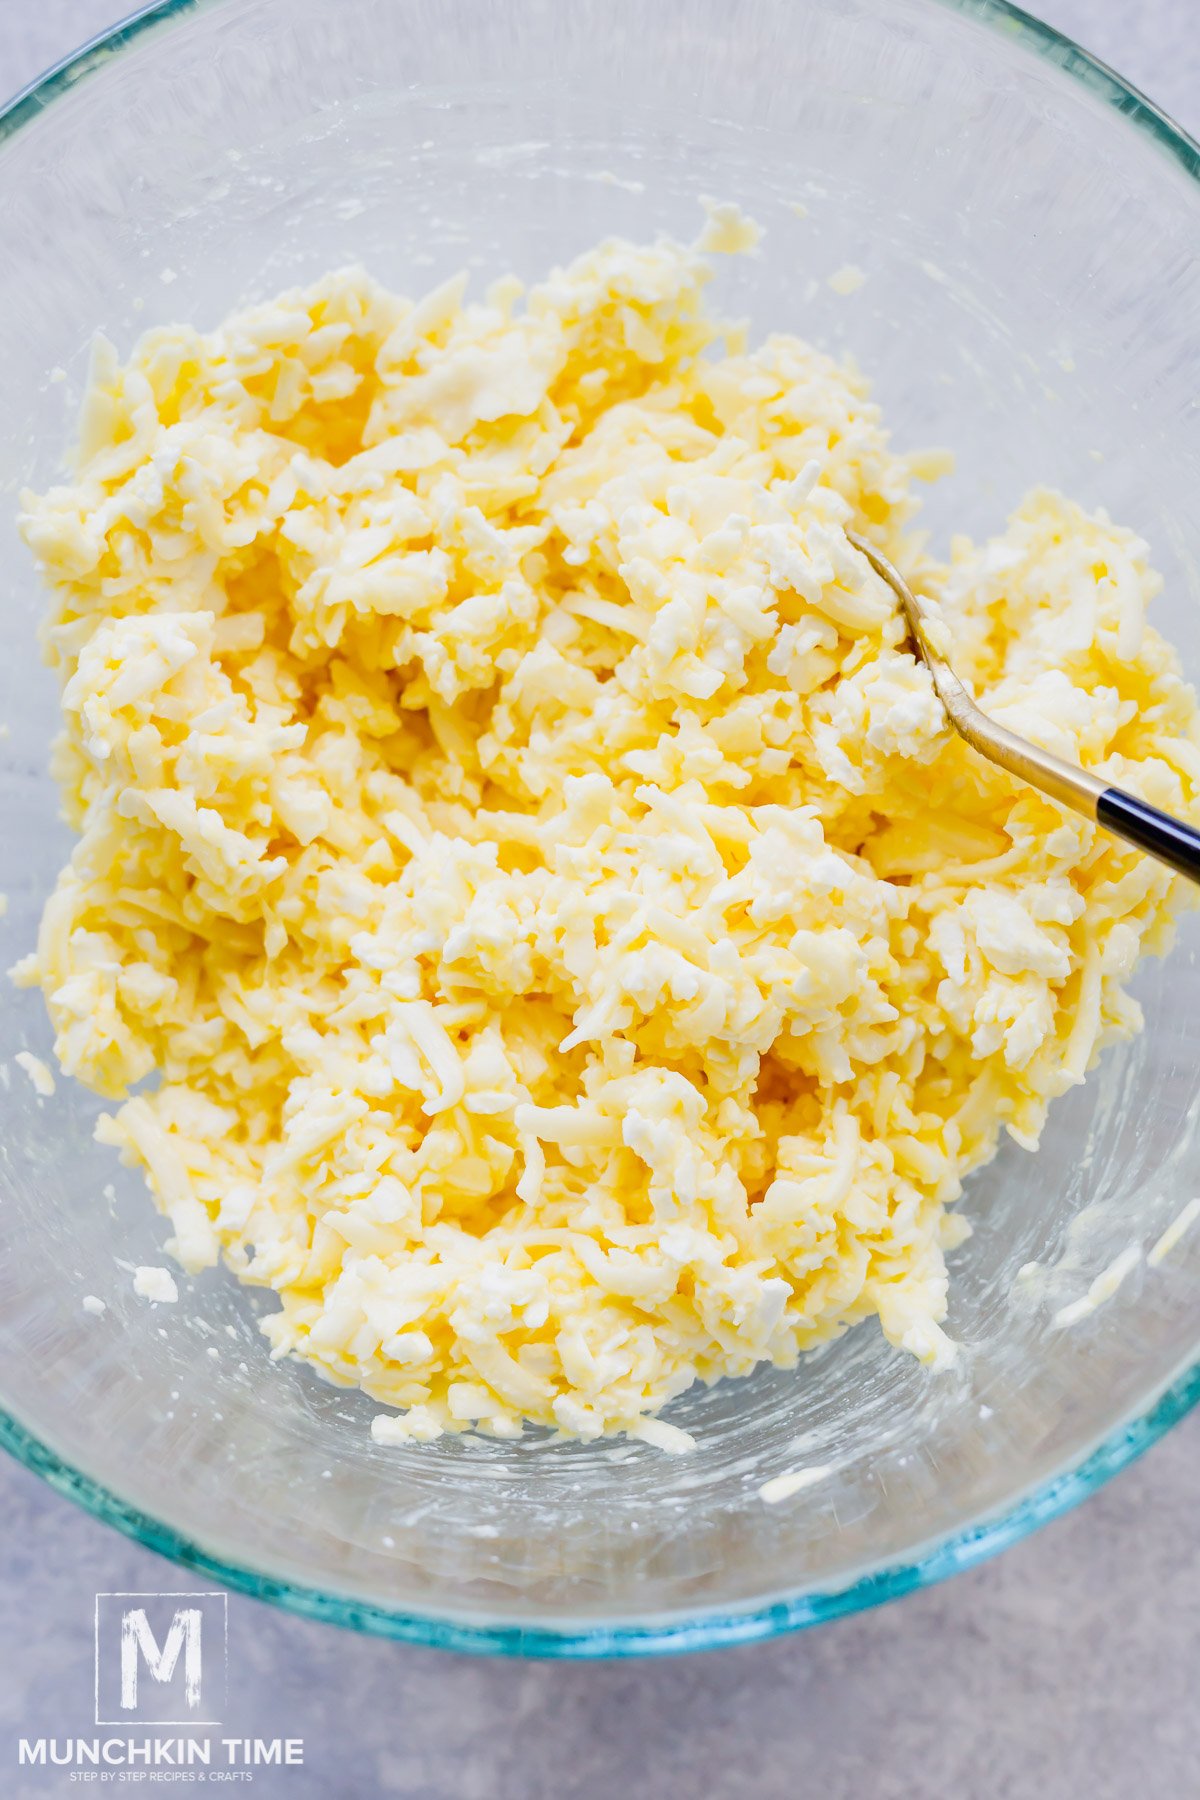
Step 3: In a mixing bowl, mix the feta cheese, mozzarella, and eggs with a fork or spoon. Set it aside.
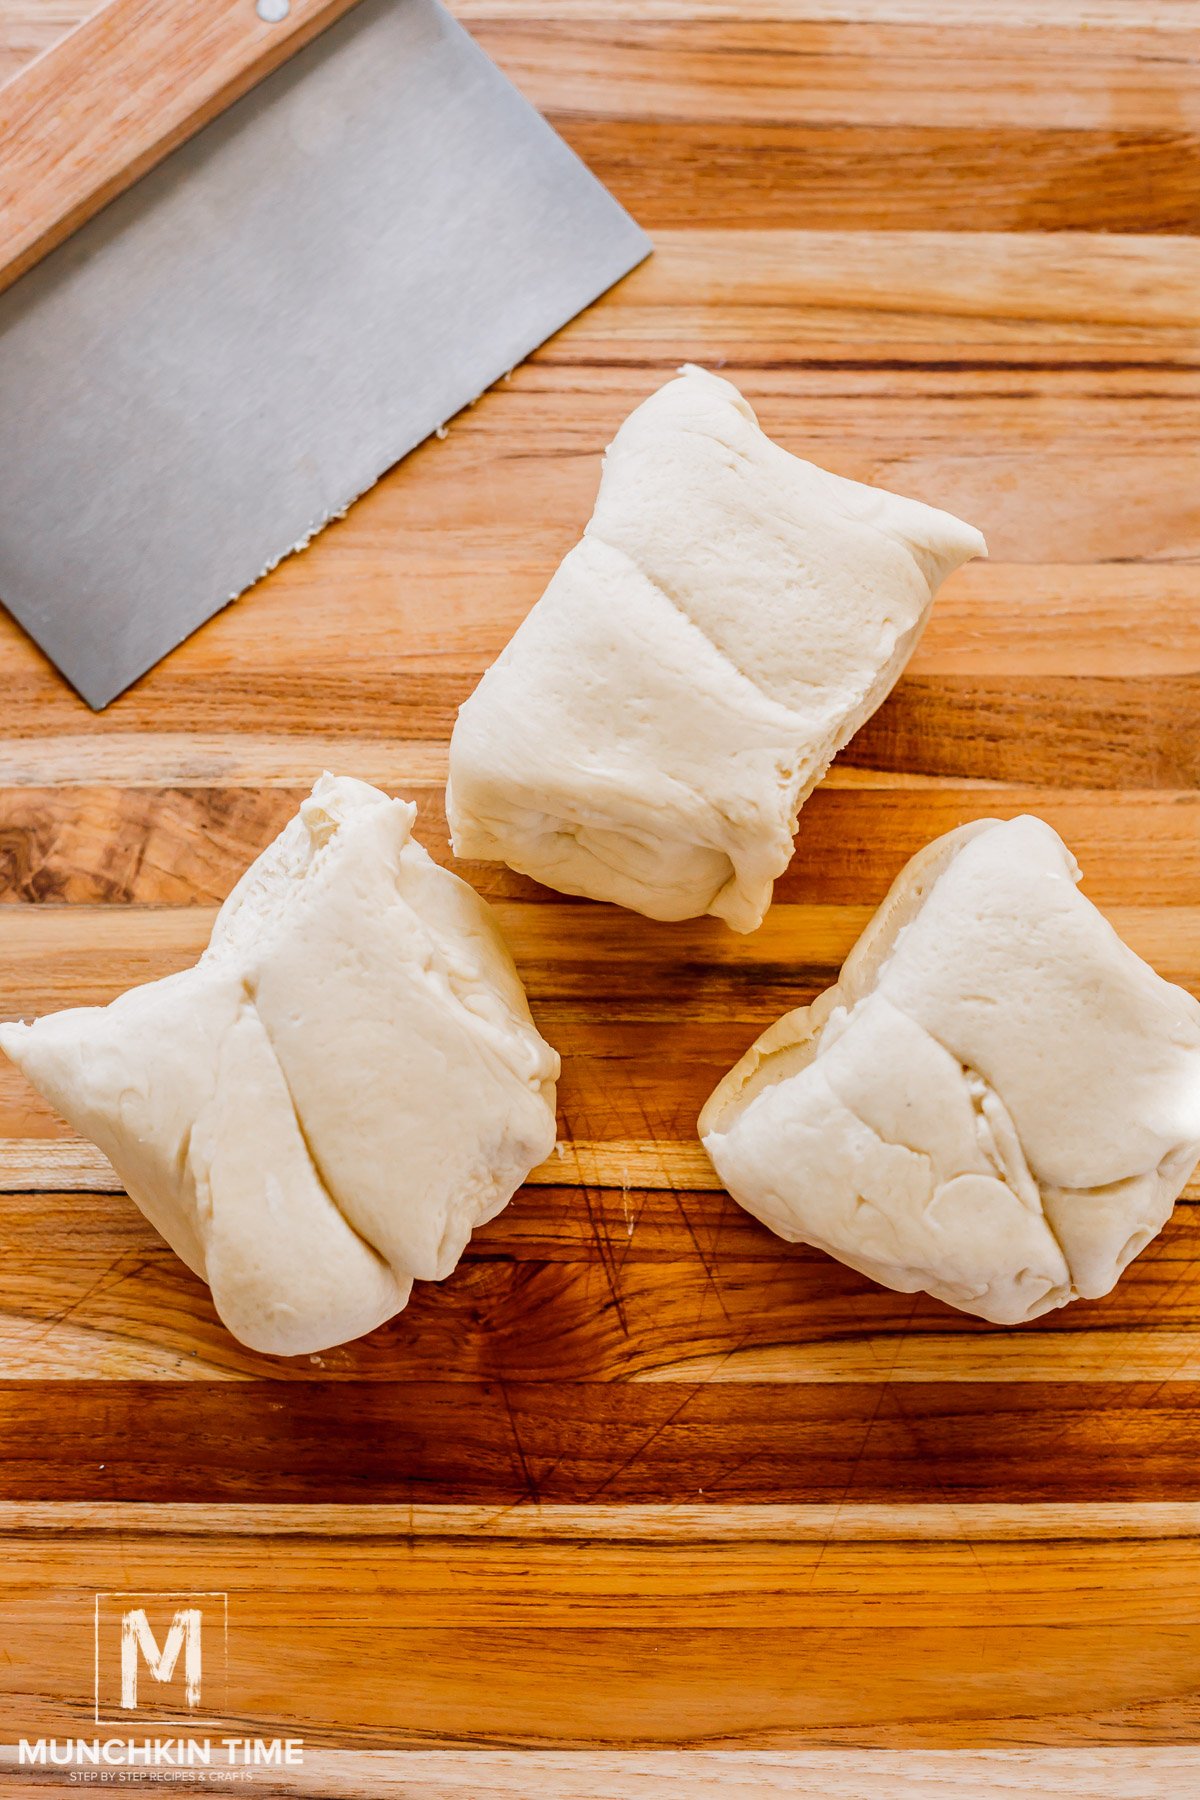
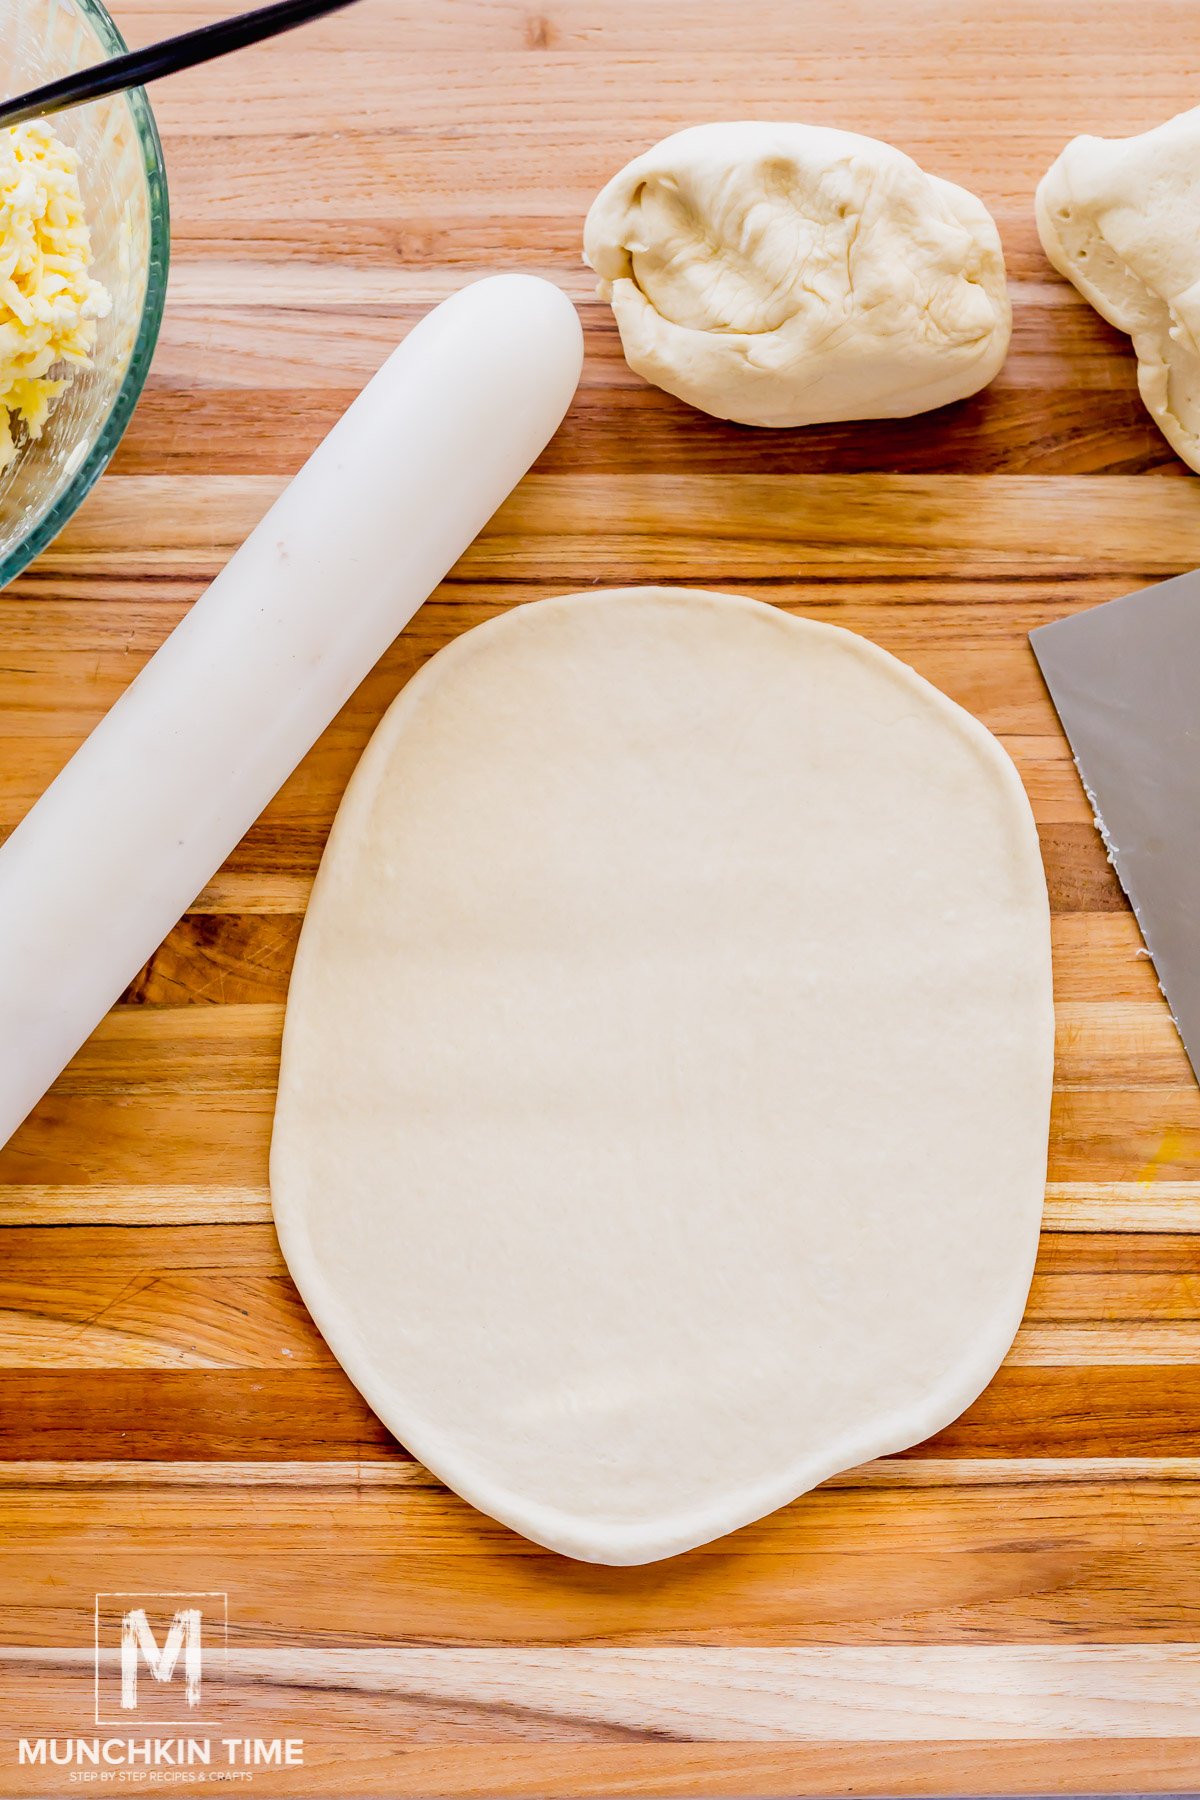
Step 4: Grab your dough and divide it into 3 equal pieces. If your dough is coming from the fridge, let it sit at room temperature for a bit. Roll each piece into an oval.
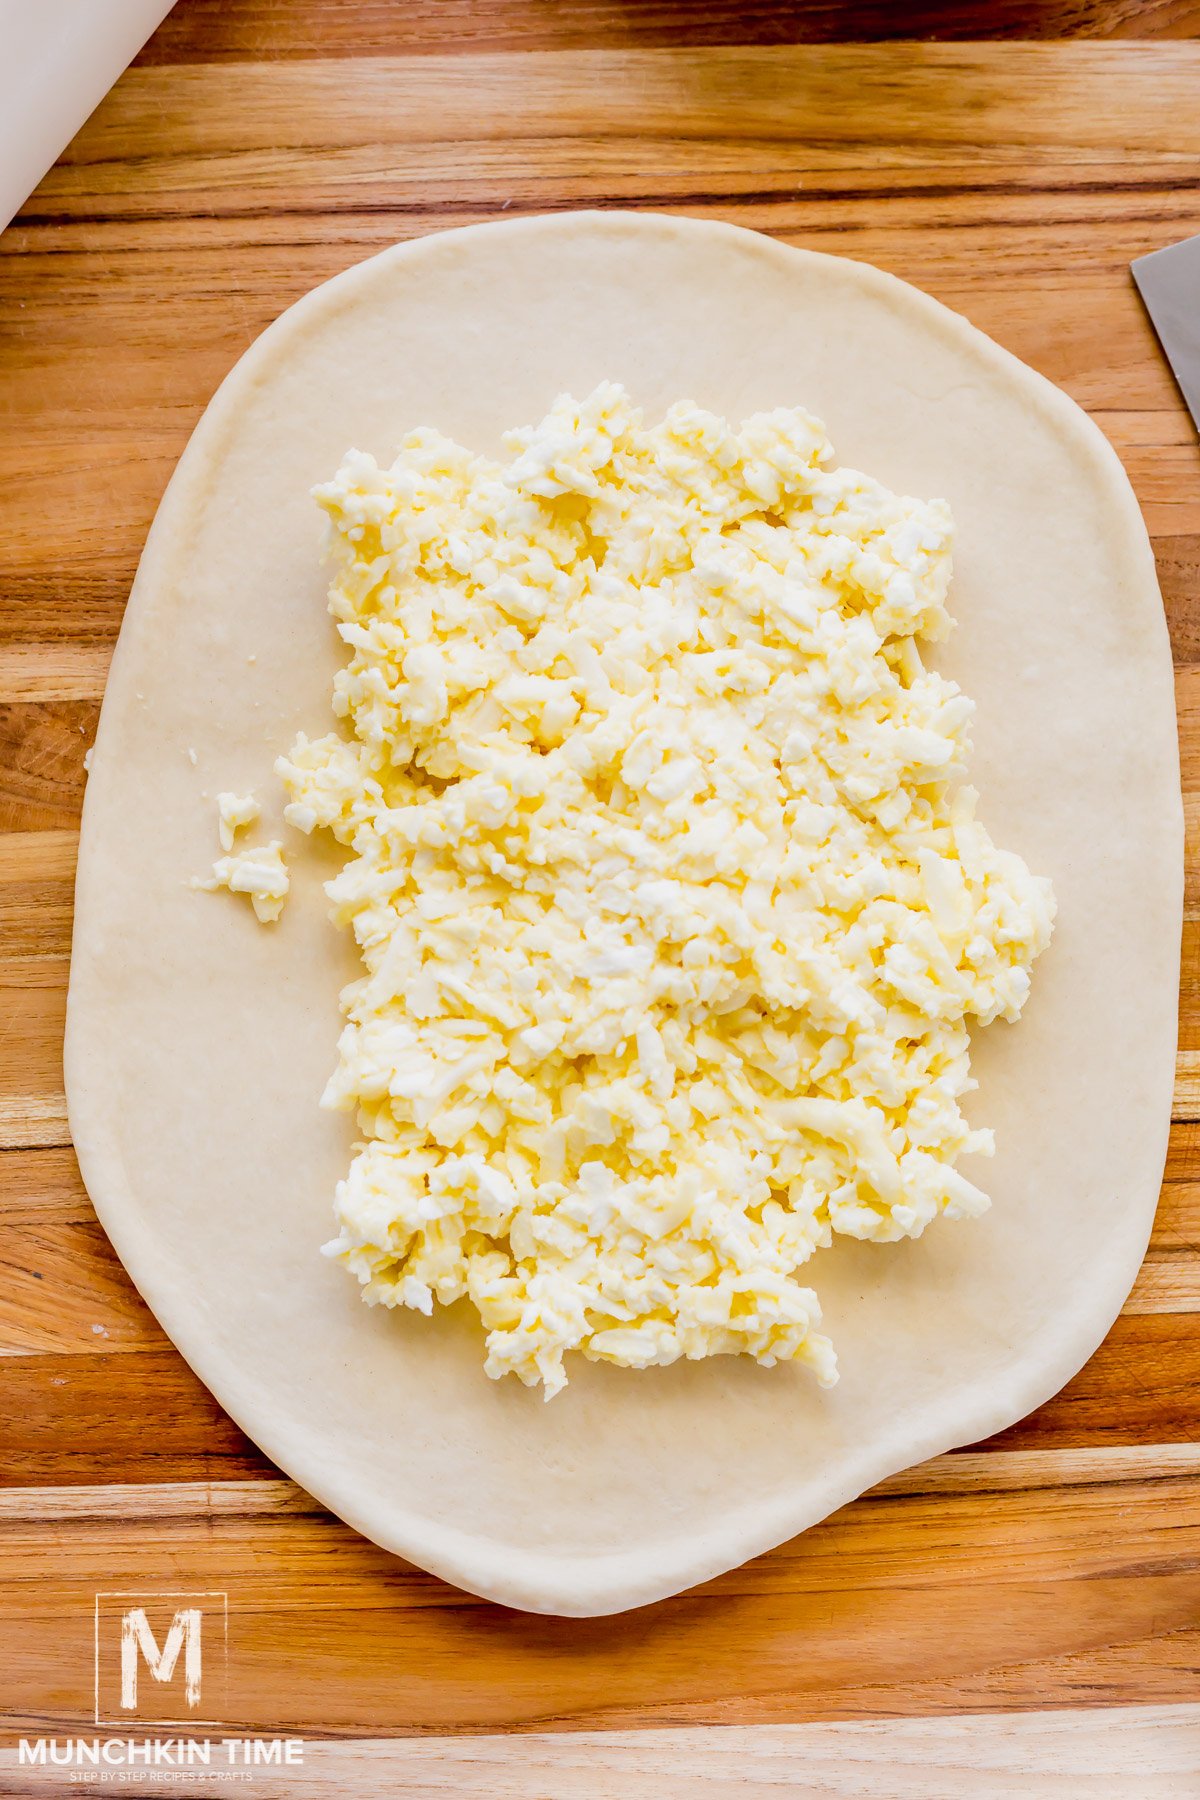
Step 5: Add some of the cheese filling into the center of the oval dough, leaving a 1-inch border around the entire thing.
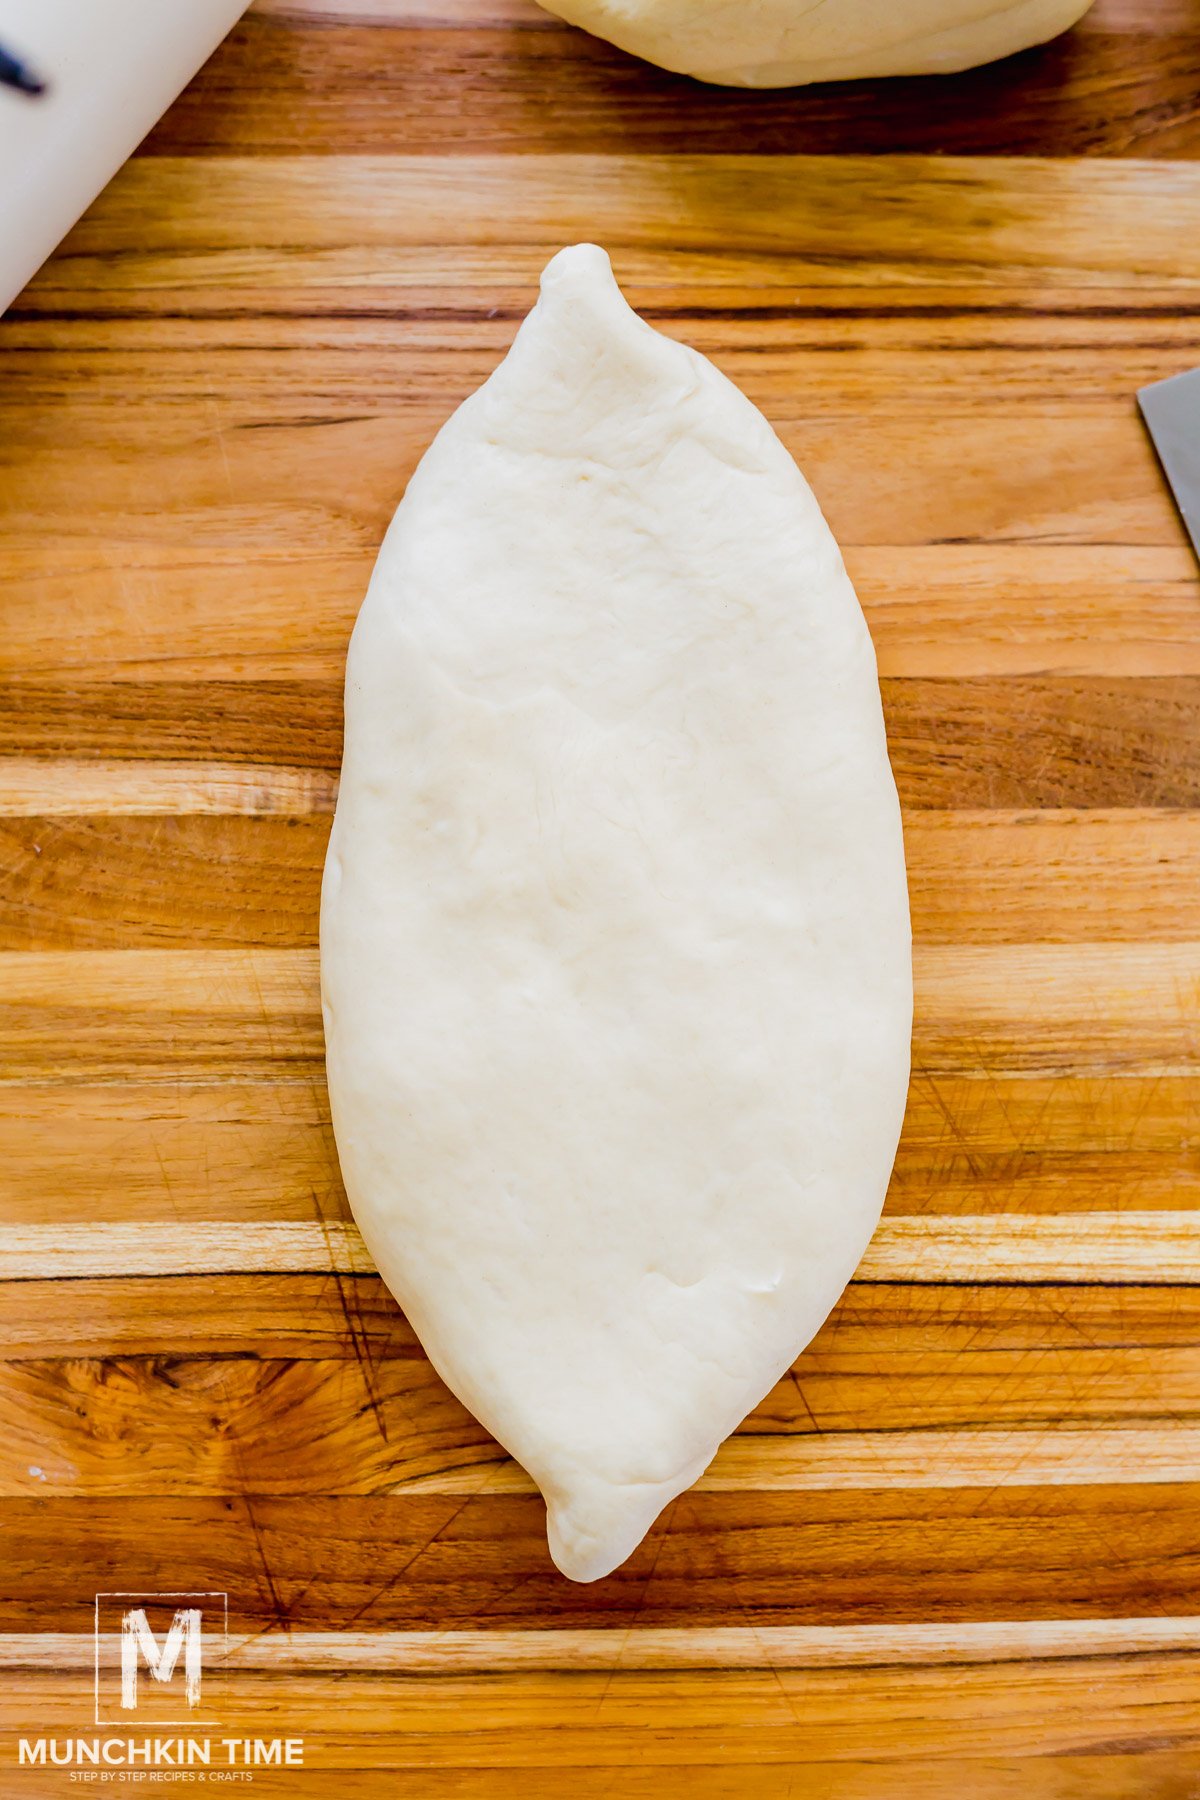
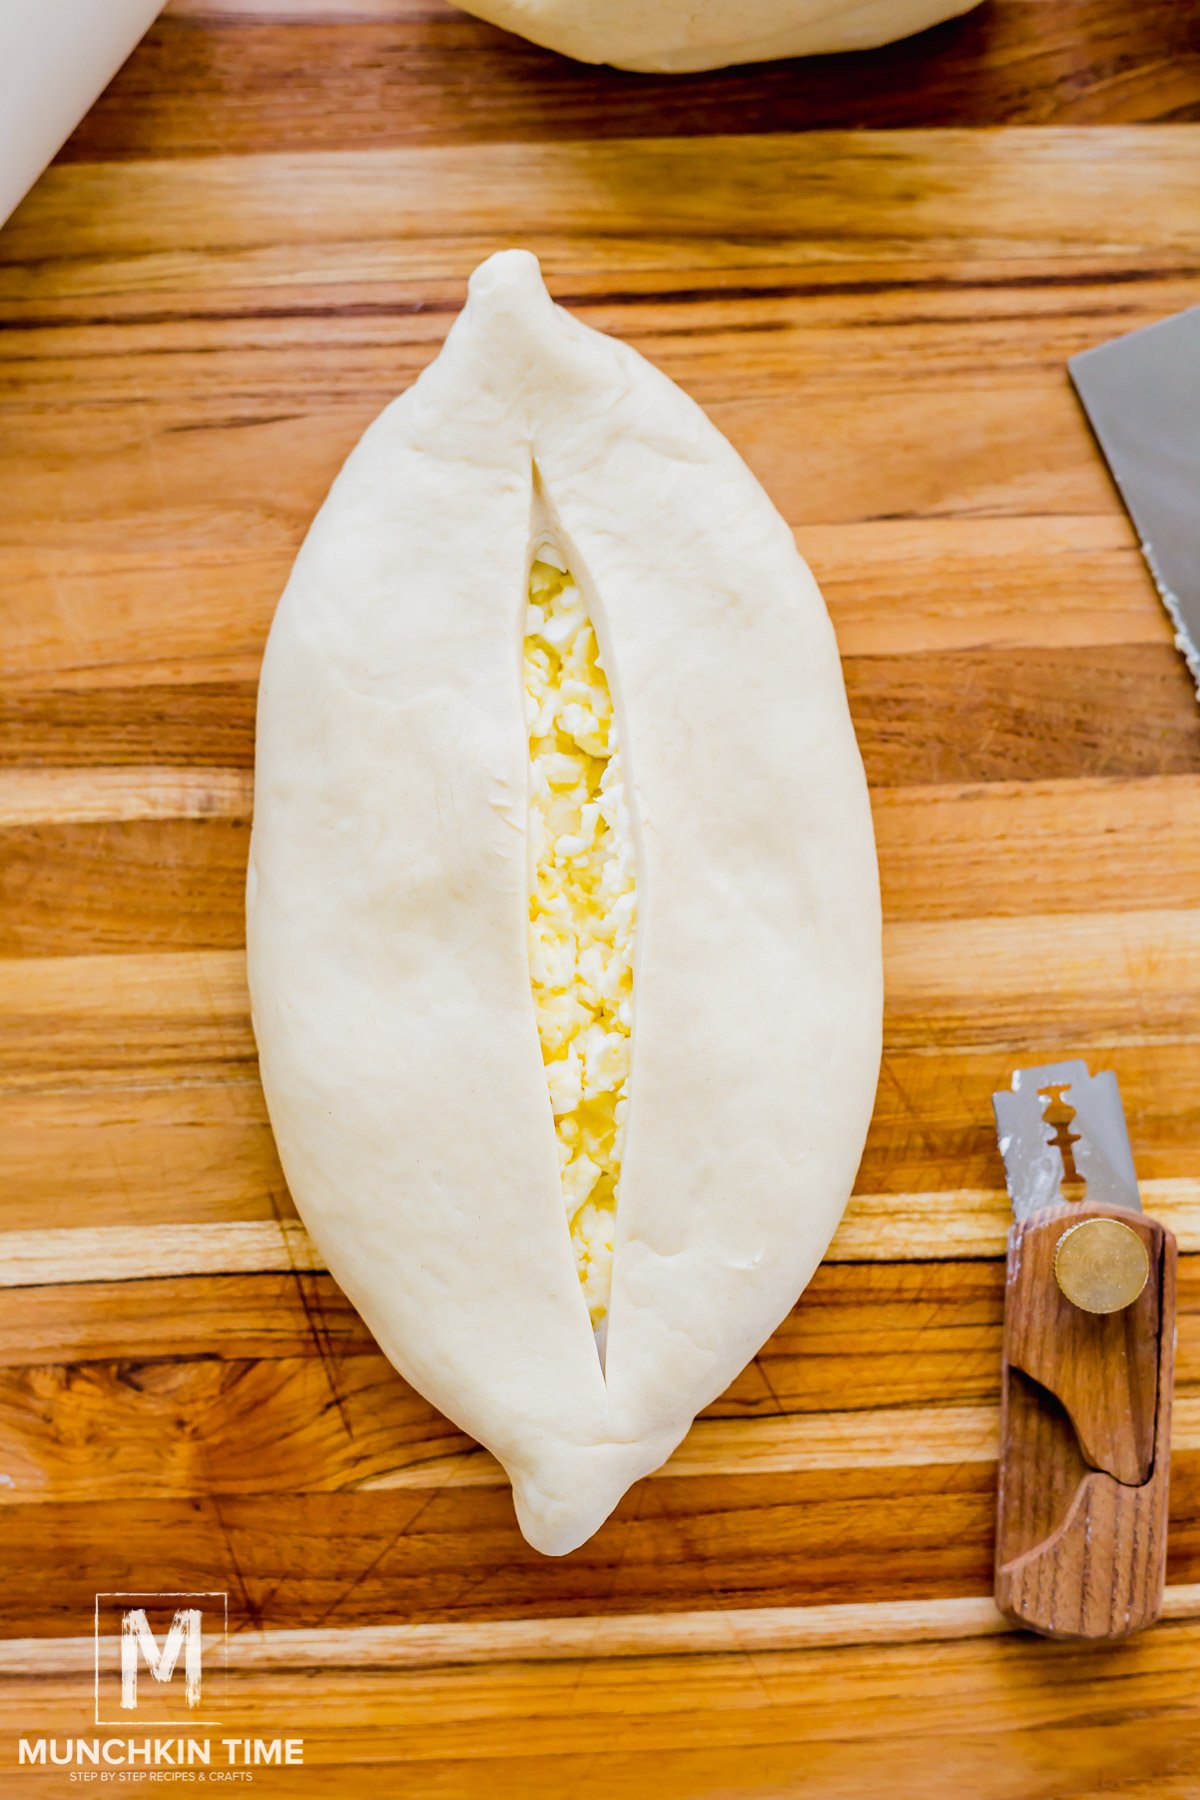
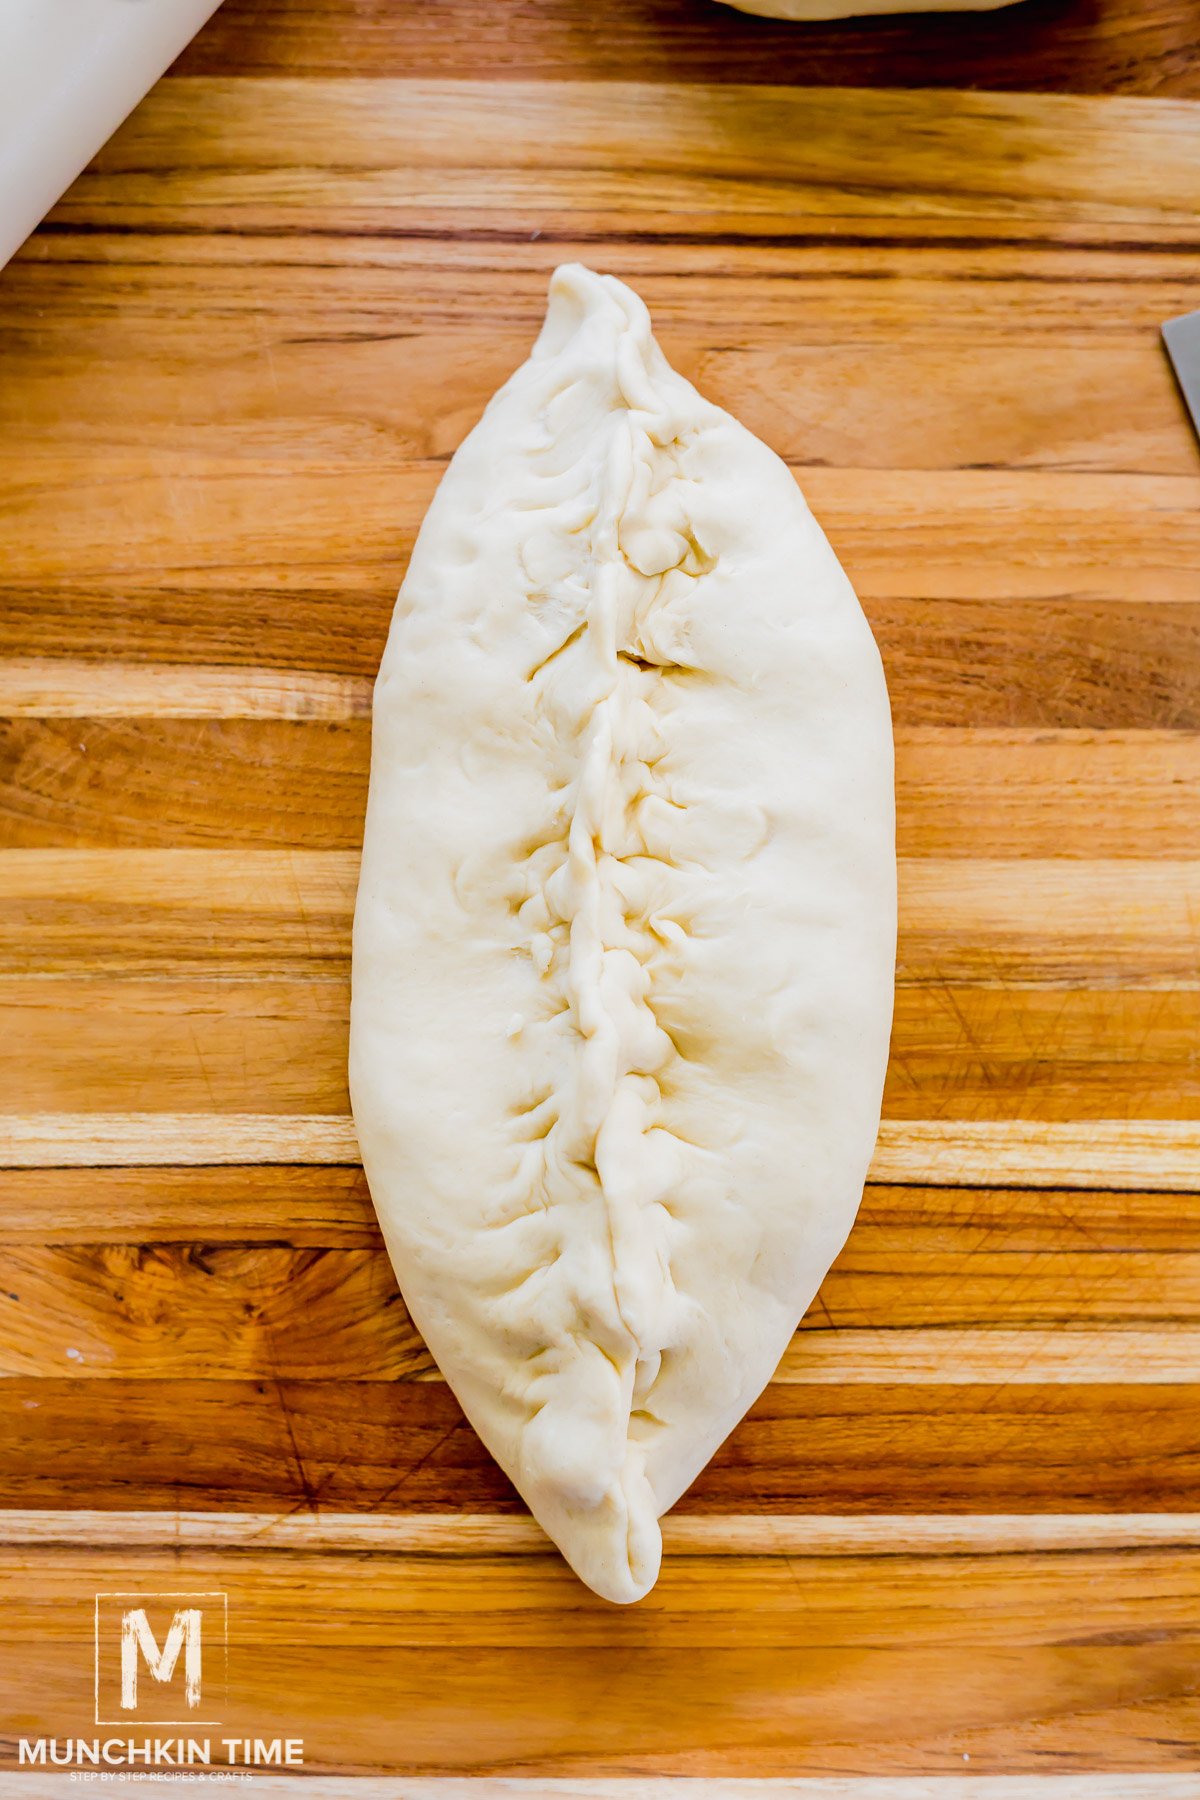
Step 6: Fold the edges completely over the filling, so both sides meet in the middle. Pinch the edges together to close the seam, and flip it over onto a parchment-lined baking tray. Using a sharp knife, cut a vertical line down the center, making sure to only cut through the top layer of dough and not the filling.
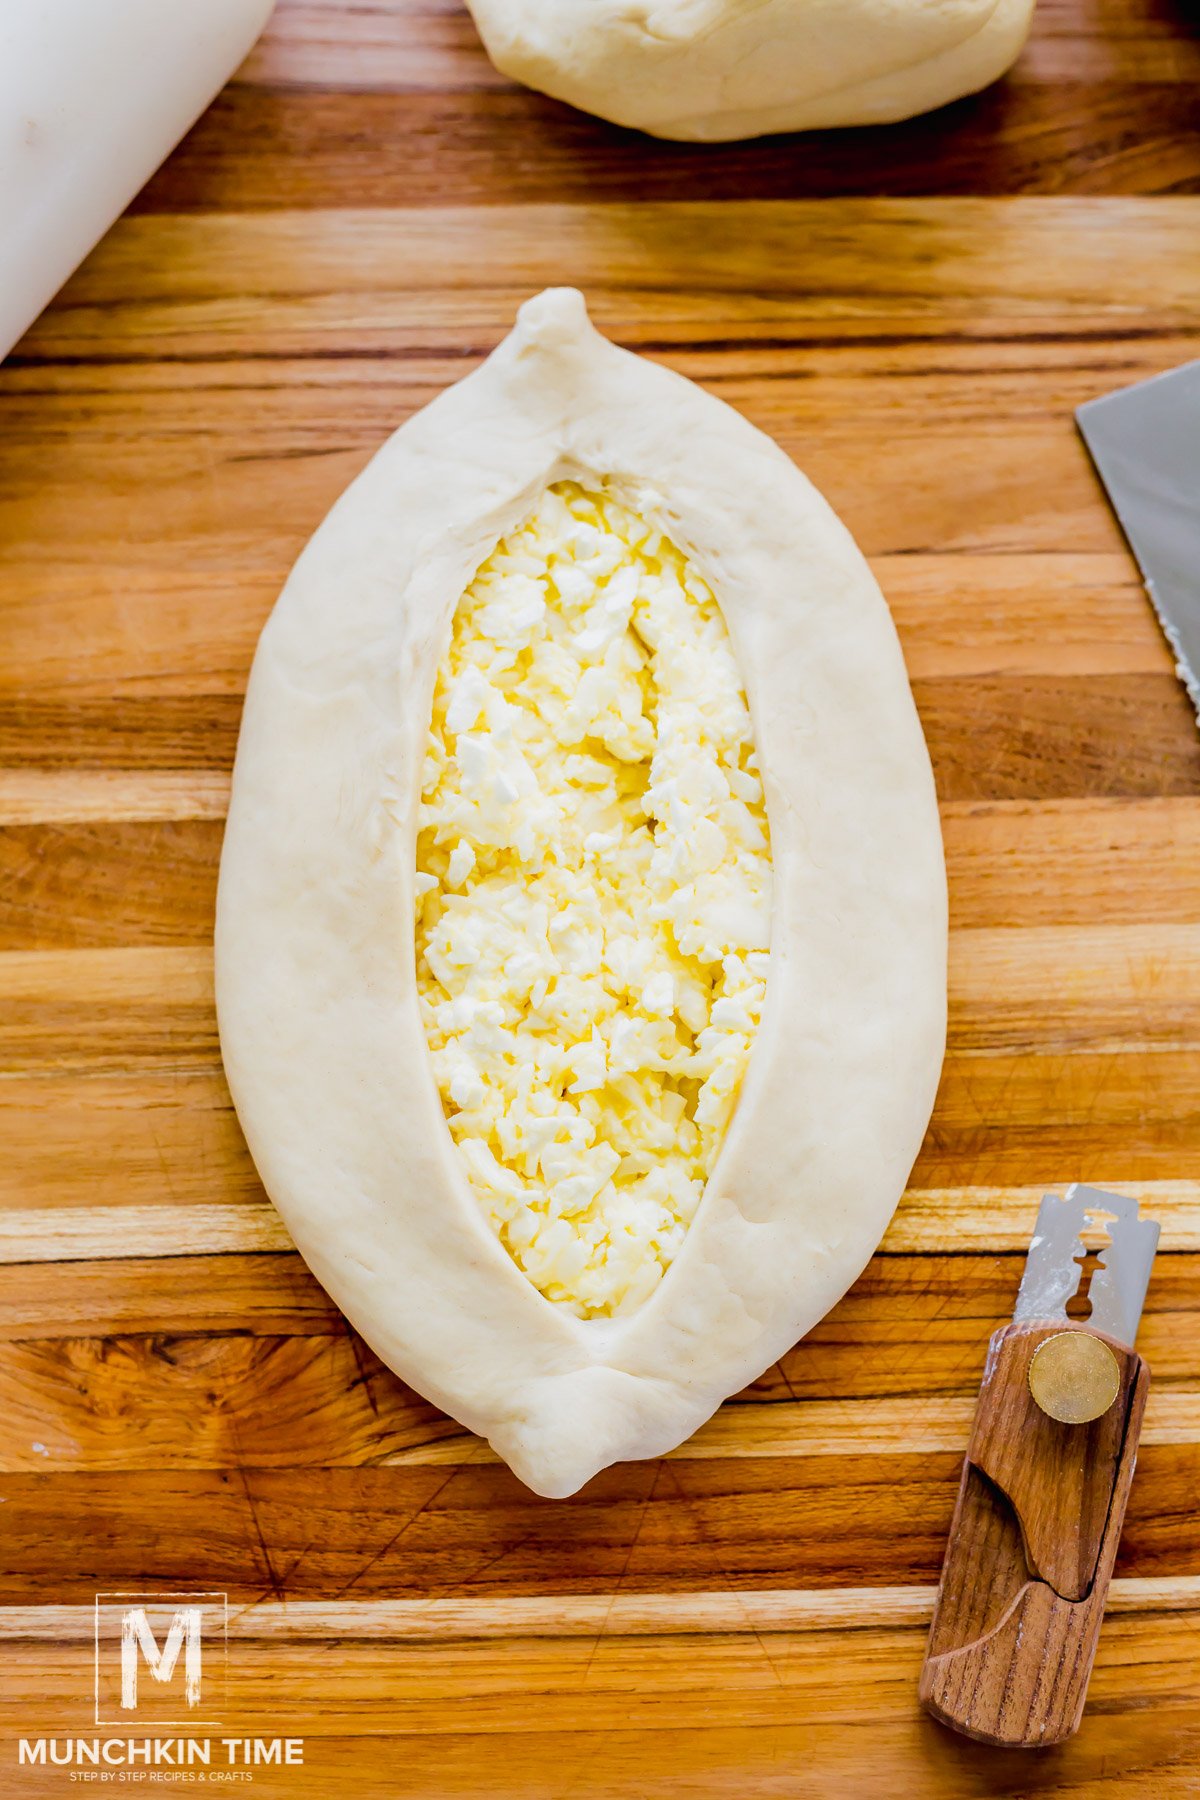
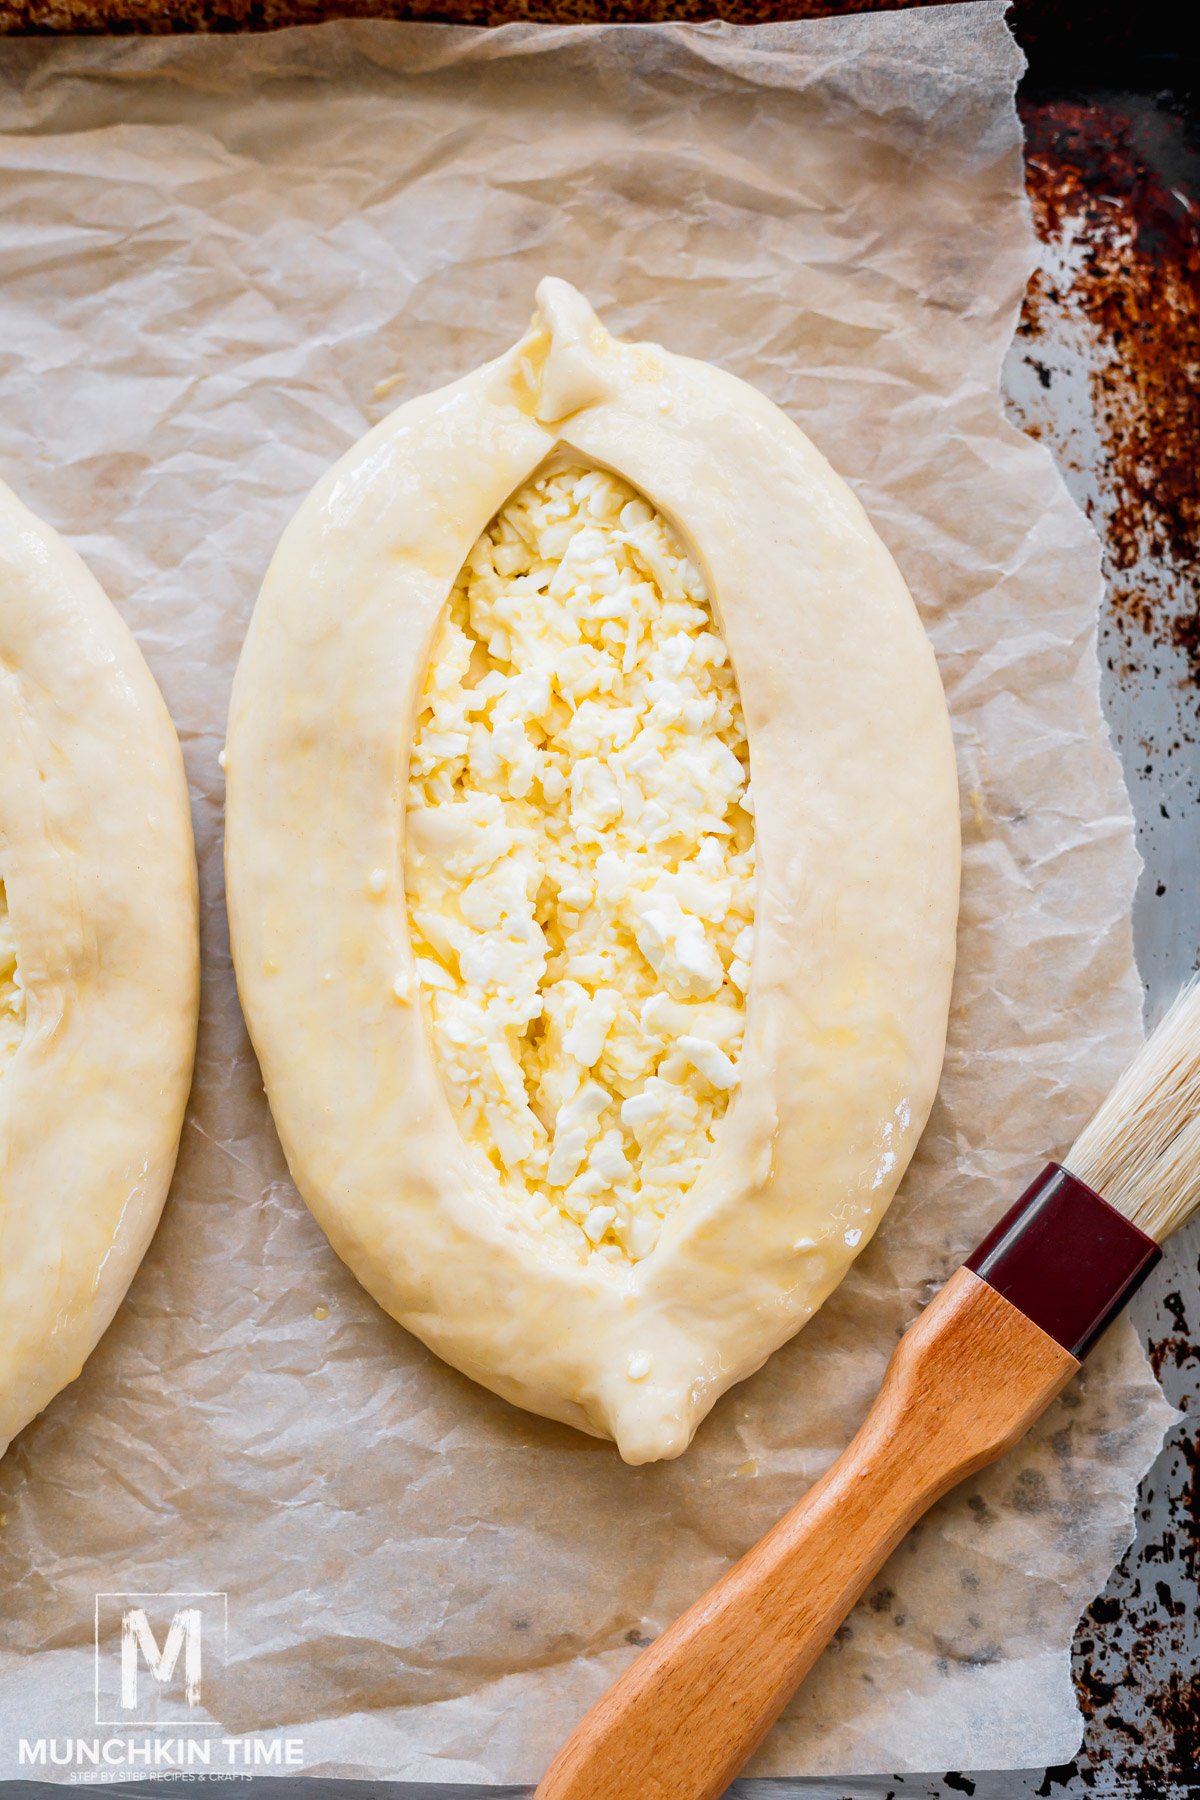
Step 7: Use your hands to open the dough to expose the filling and push the sides of the dough out towards the edges to create a boat-shaped khachapuri.
Step 8: Brush the edges of the dough with egg wash and sprinkle with salt and pepper. Let it rest while you preheat an oven to 475 degrees F.
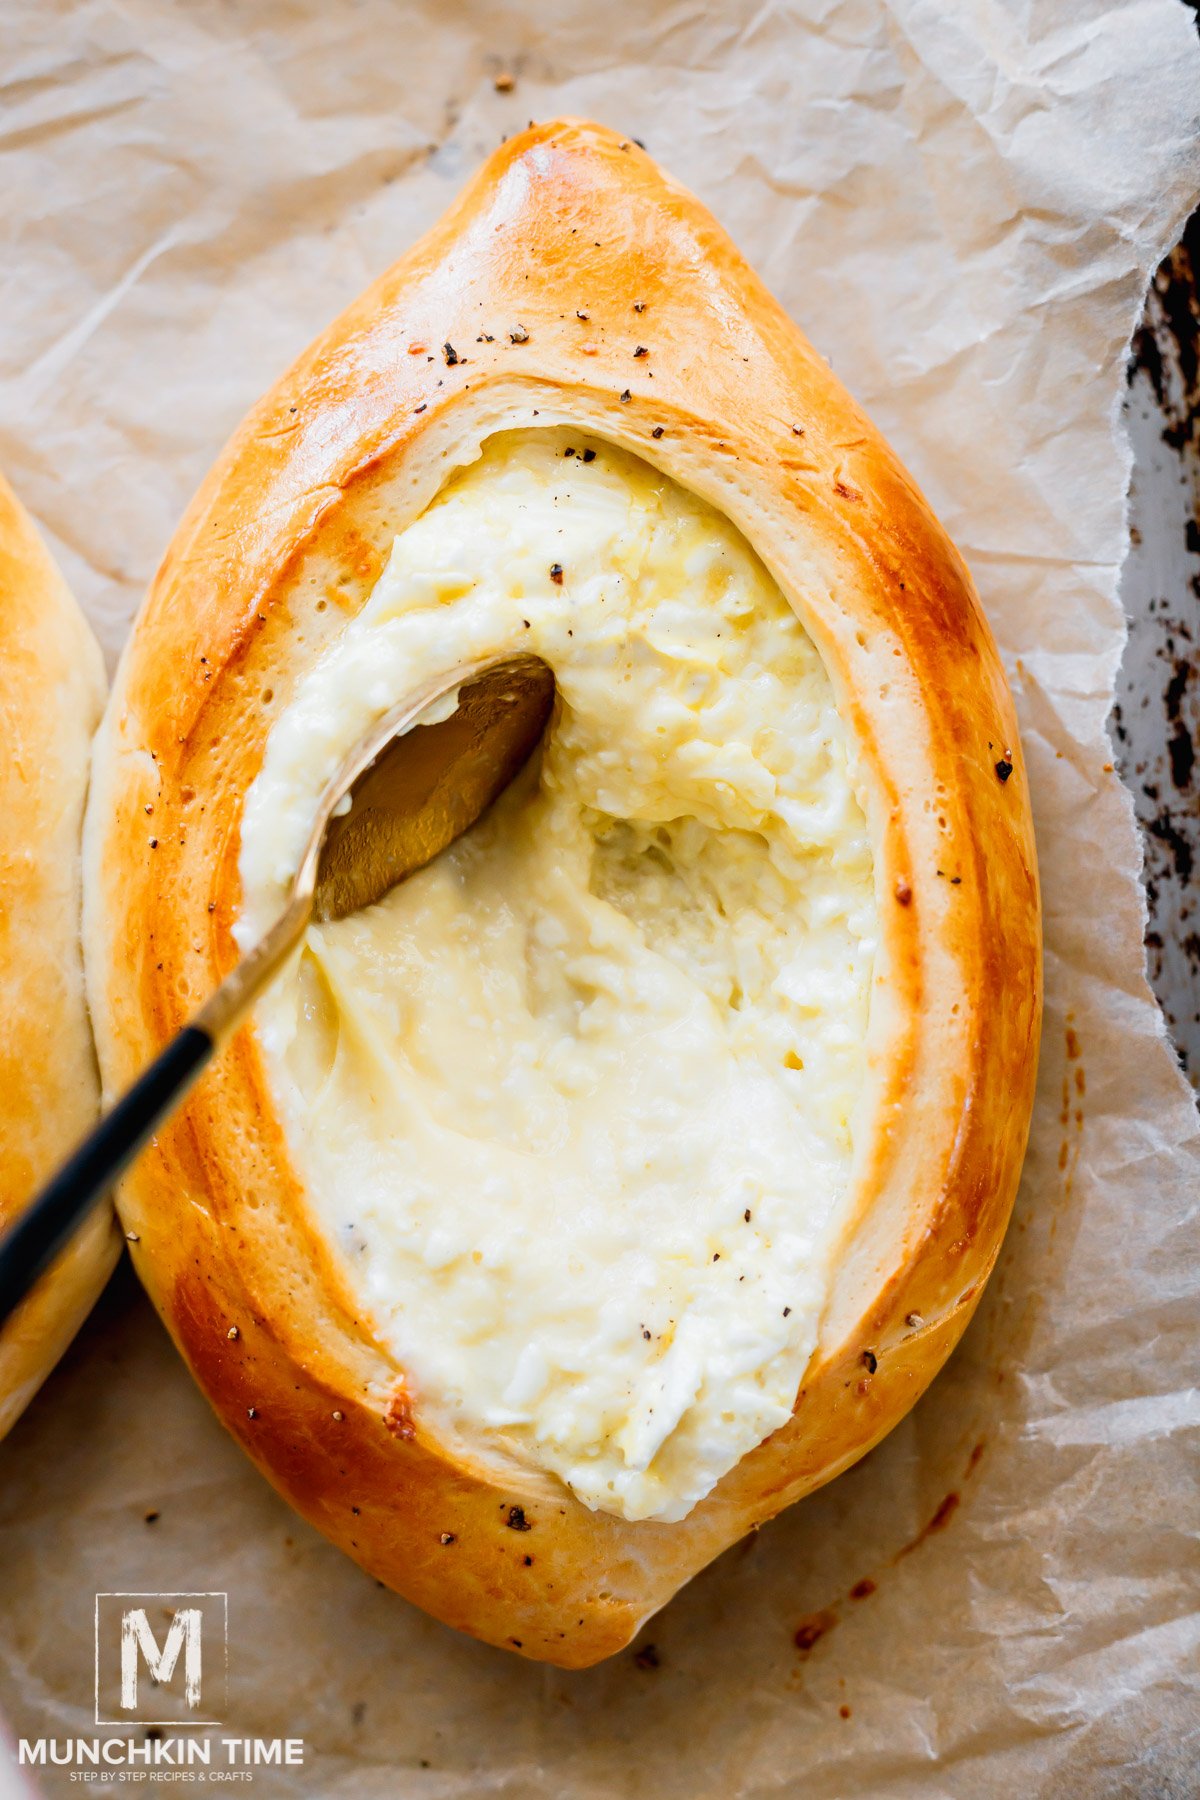

Step 9: Bake for 15 minutes and then take it out of the oven. Use a spoon to carefully push the cheese filling to the sides to make room for an egg. Crack an egg into the middle groove in the filling and season with a bit of salt and pepper.


Step 10: Bake for another 5 minutes. Take it out of the oven, and while it’s still hot, add butter to each one and garnish with dill. Enjoy!
Recipe FAQs
Half the fun of this recipe is getting to choose what kind of cheese you put in yours! The popular cheeses you find in the States are going to be different from the traditional Imeretian salted or sulguni cheeses that are traditionally used.
Other options are farmer’s cheese, Gruyere, cheddar, or Parmigiano Reggiano.
The crust around the filling will be nicely golden on the outside, and the filling will be set. It will be melty and cheesy, but not too runny.
The egg white in the middle will also be set, and the yolk will still be runny.
Technically yes, you can freeze khachapuri, but some people say it changes the texture once it has thawed. If you’re planning ahead and want to freeze it for later, I say freeze it before it’s baked.
Add the filling, fold the dough over, and close the seams. Then, wrap it in plastic wrap and a layer of foil before transferring it to a freezer bag. Keep it frozen for up to 1 month. Thaw it completely before continuing with the rest of the steps.
Place it in the oven or air fryer until warmed through. Once it sits in the fridge, the filling will harden.
Heating it up will make it nice and melty again. You can use the microwave; however, it will be soggier that way.
More Yeast Dough Recipes
- Sourdough Recipe with Starter
- Best No Knead Bread Recipe
- Pita Bread Recipe
- Soft Dinner Rolls
- Sweet Braided Easter Bread
When YOU make this Georgian cheese bread please tag us @munchkintimeblog on Instagram, we would LOVE to see your creation!
If you tried this Georgian cheese boat recipe or any other recipe on my website, please leave a * star rating and let me know how it went in the comments below. Thanks for visiting!
Thank YOU for YOUR Comment, Share & Recipe Review!

Khachapuri Georgian Cheese Bread - Cheseboat
Equipment
Ingredients
For the Dough
- 2 ¼ teaspoon active dry yeast
- 1 teaspoon sugar
- 1 cup warm water about 110F
- 3 cups all-purpose flour
- 1 teaspoon sea salt
- ¼ cup olive oil
For the Khachapuri Cheese Filling
- 1 ½ cup feta cheese grated
- 2 cups mozzarella cheese grated
- 6 large eggs divided, 2 eggs for cheese filling + 3 for baking + 1 for egg wash
- salt and pepper to taste
For Garnish
- 3 tablespoon butter 1 tablespoon per Khachapuri
- 2 teaspoon dill freshly chopped, optional
Instructions
Making the Dough
- In a stand mixer bowl, combine yeast, sugar, and warm water. Allow the mixture to rest until frothy, about 5 minutes.
- In the same bowl, add flour, sea salt, and olive oil. Knead the dough for 7 to 10 minutes, or until it has an elastic texture. Cover the bowl with plastic wrap and let it rest in a warm place for 1 to 2 hours, or refrigerate it overnight.
Making the Cheese Filling
- In a mixing bowl, combine feta cheese, mozzarella cheese, and eggs. Grab a spoon and give it a good stir until everything is blended nicely.
Making Khachapuri
- Divide the dough into three equal pieces and roll each piece into an oval shape. Place one-third of the cheese filling in the center, leaving a one-inch border around the edges.
- Fold the edges over the filling and pinch them together to secure.
- Flip the Khachapuri upside down and, using a knife, cut a line across the top of the dough without cutting into the filling. Move the dough to the sides to create a boat-shaped Khachapuri.
Baking Khachapuri
- Preheat the oven to 475°F. While the oven is preheating, brush the Khachapuri dough with an egg wash (whisk 1 egg in a bowl). Let it rest while the oven preheats.
- Bake for 15 minutes. Carefully remove from the oven, and using a spoon, gently push the cheese to one side to create a space for an egg. Add one egg per Khachapuri, and season the top of the egg with a little sea salt and black pepper, if desired. Bake for an additional 5 minutes.
- After baking, add 1 tablespoon of butter to each hot Khachapuri and garnish with dill. Tear off the side of the Khachapuri and dip it into the egg and cheese mixture (we also enjoy mixing the egg and cheese together before dipping). Enjoy!
Video
Notes
- Make sure your oven is hot enough (around 475°F or 245°C) before baking. A well-preheated oven helps the bread get that golden, crispy crust.
- Before serving, brush the edges with melted butter for extra flavor and a lovely shine.
- Khachapuri is best enjoyed fresh out of the oven. Serve it warm, and feel free to tear off pieces of the bread to dip into the cheesy filling!
Nutrition
Happy Baking!

Leave a Reply